


Like I said with the Colbalt Damask version, I love how comfy these are. Though before I used a softer material and it feels more comfy. I used this quilting weight fabric for the Wild Flowers version and it's not as cozy.

The maximum hip size for the pattern is 40". However you can just widen at the seams if you are a little larger. Also this pattern is intended to be used with some kind of trim. If you end up not using trim or if your trim is thin I would add 1/2" to the hem lines.


Materials"
29" of fabric (45" or 54" wide)
29" of fabric (45" or 54" wide)
4 yards of trim
1" elastic long enough to fit around your waist
Download Print at Home Pattern Here
Download Print at Copy Shop Pattern Here

Download Print at Copy Shop Pattern Here
To cut pattern on fabric:
If the design on your fabric goes horizontally cut the pieces like this:
The waistband is not listed on the printed pattern. You can cut that piece yourself based on your waist size. But a good rule of thumb for cutting the pattern is 3.25"tall and 41" wide. You can adjust the width after you put the pieces together.

The waistband is not listed on the printed pattern. You can cut that piece yourself based on your waist size. But a good rule of thumb for cutting the pattern is 3.25"tall and 41" wide. You can adjust the width after you put the pieces together.

If the design on your fabric goes vertically cut the pieces like this:

Tutorial
Step 1:
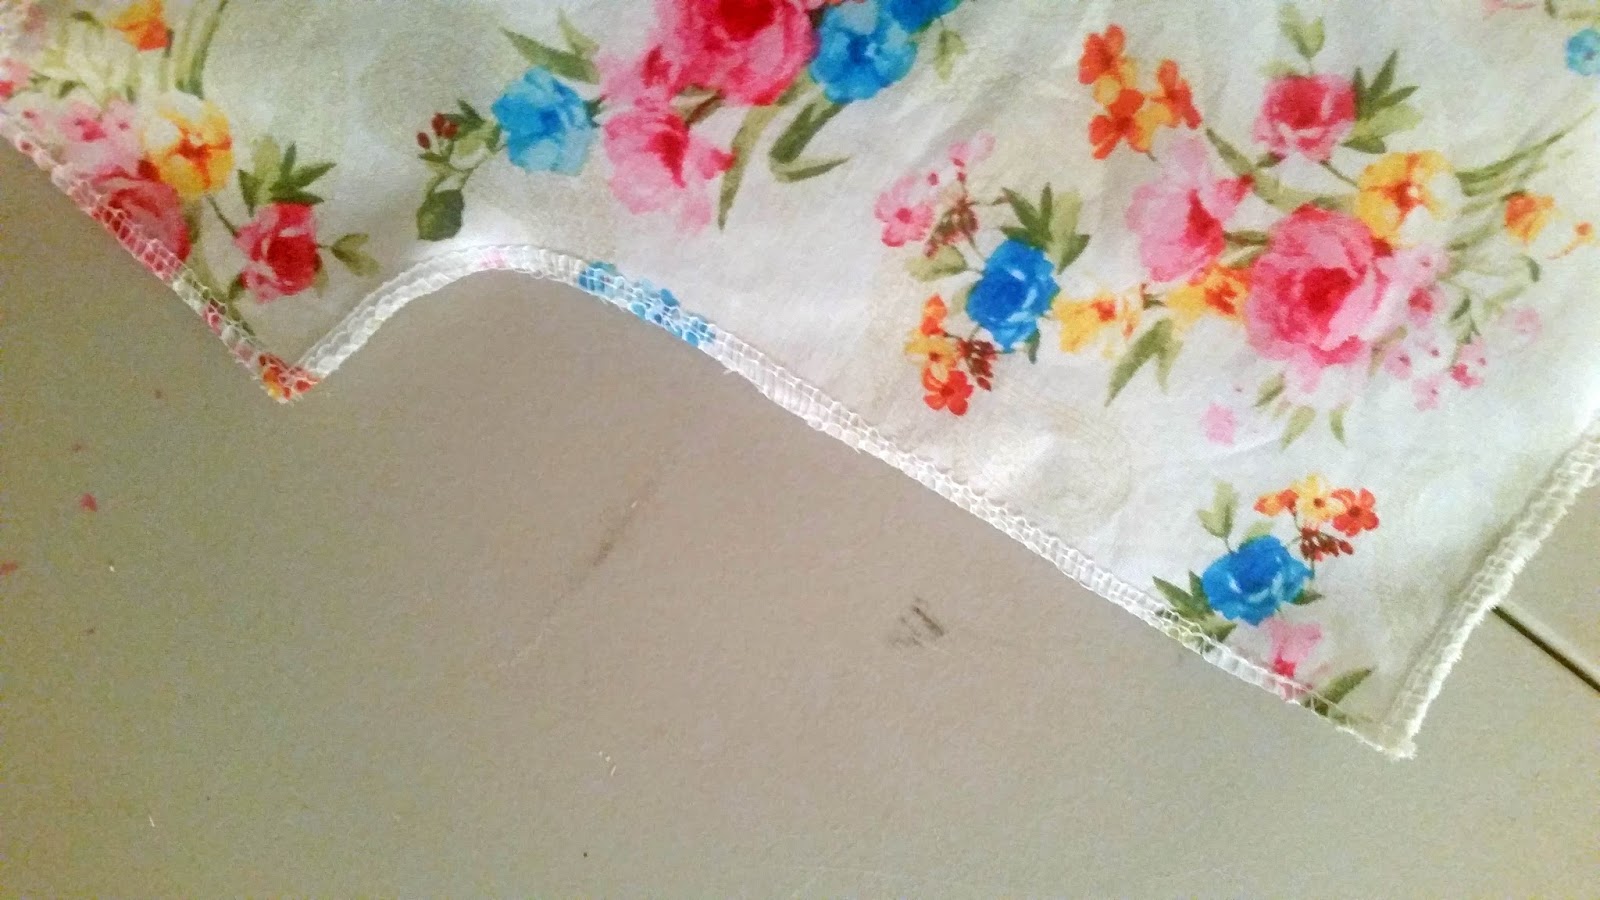
Since you will be using trim, I recommend finishing the edges of the pattern pieces either with a serger or a zigzag stitch on your sewing machine. Alternatively you could fold over the hem twice but remember to add 1/2" to the pattern for that.

Step 2:
Sew the one of the front pieces to one of the middle pieces. Place the left corner of the front piece against the line you made on the middle pattern piece, right side of the front piece together against the wrong side of the middle piece face down. See photo.
 Sew the back front pieces to one of the middle pieces placing the right corner of the back piece against the line you made on the middle pattern piece, right side of back piece together against the wrong side of the middle piece face down. See photo.

Step 3:
Sew back seams together.

Step 4:
Cut notches in the curve.

Step 5:
Sew front seams together.

Step 6:
Cut notches in the curve

Step 7:
Sew leg hole seams together.

Step 8:
Press seams flat.

Step 9:
Cut your waistband elastic. Measure the circumference of your waist and cut your elastic to that size.
 Step 10:
Lay your elastic on your waistband, matching the middle of the elastic to the middle of the waistband and pin in place. Also, pin the elastic 1/2" from the bottom of waistband.

Step 11:
Measure 5/8" in from the ends of your waistband and pin the ends of your elastic to that point.

Step 12:
Sew your elastic to your fabric in 4 rows about 1/4" apart.

Step 13:
Fold the waistband fabric over the elastic.

Step 14:
Stitch flat.

Step 15:
Pin your waistband to your shorts, right sides together.

Step 16:
Sew your trim onto your hem lines.

Step 2:
Sew the one of the front pieces to one of the middle pieces. Place the left corner of the front piece against the line you made on the middle pattern piece, right side of the front piece together against the wrong side of the middle piece face down. See photo.


Step 3:
Sew back seams together.

Step 4:
Cut notches in the curve.

Step 5:
Sew front seams together.

Step 6:
Cut notches in the curve

Step 7:
Sew leg hole seams together.

Step 8:
Press seams flat.

Step 9:
Cut your waistband elastic. Measure the circumference of your waist and cut your elastic to that size.

Lay your elastic on your waistband, matching the middle of the elastic to the middle of the waistband and pin in place. Also, pin the elastic 1/2" from the bottom of waistband.

Measure 5/8" in from the ends of your waistband and pin the ends of your elastic to that point.

Sew your elastic to your fabric in 4 rows about 1/4" apart.

Step 13:
Fold the waistband fabric over the elastic.

Step 14:
Stitch flat.

Step 15:
Pin your waistband to your shorts, right sides together.

Step 16:
Sew your trim onto your hem lines.


 Like not spending money?
6 {comments}:
My daughter loves the pattern. But, when we printed off the home version and the print shop version the waist band doesn't show up on ether one. So, I hope someone can tell me what the demitions of the wast band is. I just cut it out myself.
This says for a maximum of 40 inch hip. What is the minimum size? My hips are 35, so I was wondering if these would fit me. Thanks!
I love this pattern and am in the process of making these shorts now. I do have a question, though. What seam allowance does it have or should I add it onto the outer edge of the pattern pieces?
Thanks so much for the pattern, if I like the fit on Mr I can see several more in my wardrobe.
Debbie...(0;
<><
@OlyveoilSeam allowance is in the pattern. 3/8"
@Shaina O'DellYou can make them as small as you need. Just make the elastic shorter.
@Kerry Sowers
Post a Comment