


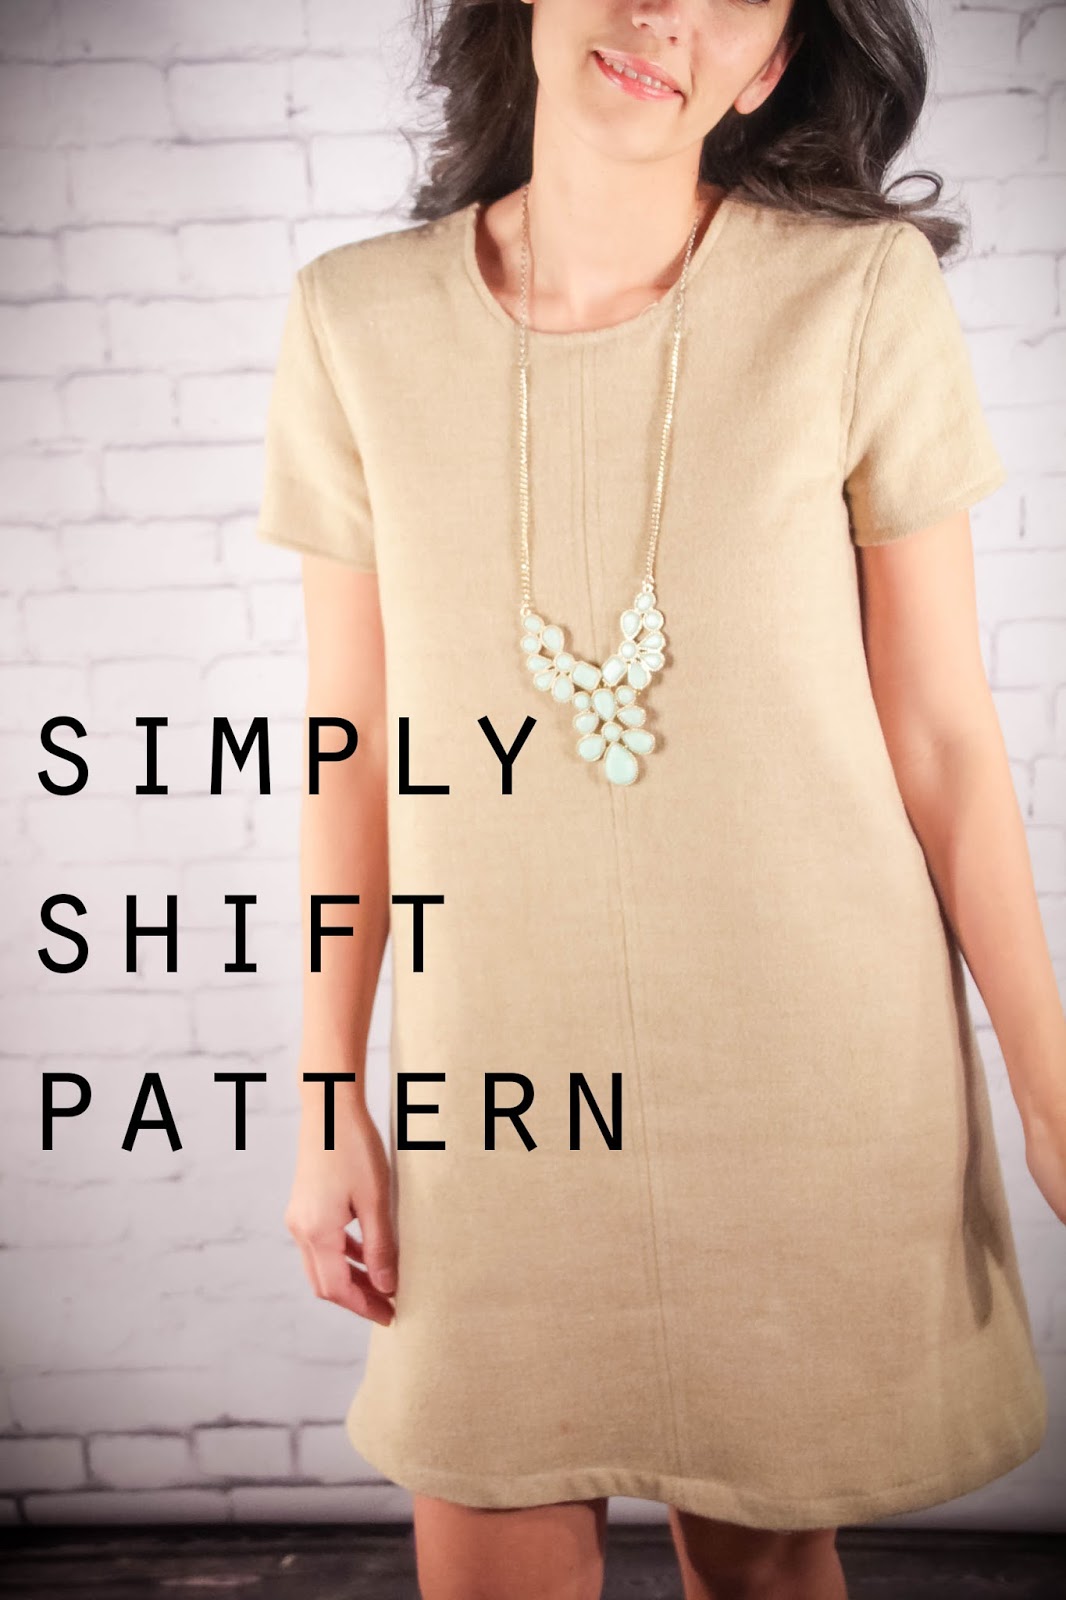
I saw this woolen J.Crew dress on their website about a month ago and decided to try and replicate it. I couldn't for the LIFE of me find it again because it was two months ago. But I liked how simple and chic it looked paired with a long statement necklace.

It's a very simple pattern. If you make it without a lining it might take under and hour to construct. This pattern isn't graded. It's just a one size. Since this is a shift dress and not fitted it can fit a range of sizes between 2-12. For visual reference, I'm a 6-8.

I'll be posting variations of the dress through out the week so you can get inspiration for the pattern. So come back tomorrow for another take on this simple dress.

For this dress I used simple tan wool. JUST ONE YARD! And one yard of lining. Pretty sweet. I just love things that only require one yard.

Get the pattern here.
Here's the tutorial on how to construct the dress using the above pattern.
Fold fabric in half and lay patterns on fabric lengthwise. Pin and cut. Repeat for lining.


Sew front two pieces, right sides together.

Iron the seam open.

To get that triple stitch look in the front stitch about 3/8" on either side of your seam.

Sew the front bodice to the back bodice at the side seams, right sides together.

Press seam open.

Sew 3/8" stitch on either side of your seam, like the front bodice.

Sew your front bodice lining to your back bodice linings at side seams.

Press open seam.

Hem bottom by an inch. (Sorry for my poor hemming skills).

Pin your lining to your bodice, right sides together at the neckline.

Sew leaving 1/2" seam allowance. Cut notches in seam

Repeat for back bodice neckline.

Turn right side out and sew 3/8" stitch from edge.

Repeat for back bodice neckline.

Sew back bodice to front bodice, right sides together at shoulder seams. Press flat.

Sew 3/8" stitch on either side of seam.

Hem your sleeve pattern. I zigzag stitched the raw edge and only folded in by 3/8".

Repeat for lining. But for the lining I folded over by 3/8" then I folded over by 3/8" again.

Sew the lining to the sleeve using a zig zag stitch (or serge them together). Sew the sleeve seams, right sides together. Press seams open.

Pin to the sleeve hole of bodice, right sides together. Sew to bodice.

Turn right side out and make one line of stitches 3/8" from the sleeve seam toward the bodice.

Sew in your zipper to the back of your dress. Here's a tutorial on how to sew in an invisible zipper.

Sew the rest of the back seam from the hem to the bottom of the zipper (also refer to the invisible zipper tutorial for this step).

Stitch 3/8" from the edges of each side of your zipper.

Fold up the hem by an inch and sew. Alternatively you could try a blind hem stitch. Here's a tutorial on how to do that. The look is much more finished but takes a little more work.

Voila! Finished!


 Like not spending money?
22 {comments}:
Great dress, Kathleen! I would love to make this with the copy shop pattern but the multi-page pattern appears to be attached to both links.
Beautiful!! I've got a Craft Gossip post scheduled for later this morning that links to your post:
http://sewing.craftgossip.com/free-pattern-simply-shift-dress/2014/11/24/
--Anne
Gorgeous!
@DalilaSorry about that! Just changed the link. Tell me if it works now. Thanks!
I love this shift dress and had seen the JCrew one as well. I printed the pattern and it is great except the sleeve is only 8 1/2" wide and impossible to fit around an arm and the entire piece is too small for the armscye. The other pieces are scaled perfectly and the 4" test square is on the same pattern sheet as the sleeve. Help! I cut the front and back of the dress and have a doll's sleeve. Have you cut a sleeve from the printed PDF pattern or am I losing my mind?
@hemmafruI'm so sorry about that! No, you are not losing your mind. Thank you for alerting me! I must have happened when I moved the sleeve pattern over to the other two patterns. I think the DPI was different. Anyhow, I fixed it and changed the patterns accordingly. But if you just want to print out JUST the sleeve instead of the whole pattern again here's the link for just the sleeve.
https://drive.google.com/file/d/0B5EpqS6-ldJEN09WSDNiNHFQNWs/view?usp=sharing
@Kathleen Frances
Thank you! Much better- This sleeve looks like it will fit. I am going to finish sewing the muslin and then plan on making one in a delicious wool Christmas plaid. It is a lovely dress! Thank you!
@hemmafruOh great! Again, I'm so sorry about that! Sometimes in my rush to get stuff done things slip by me. I'd LOVE to see your finished dress when you are done!
I'm so pleased to have found this post on Pinterest. Thank you for the inspiration. This is exactly the dress I have been looking for. My mother in law is going to make me a few of these for the summer. We have a very busy retail store and it gets hot in the summer - I think this dress will be perfect for my busy days - chic and elegant. I'm going to try it in washed denim, a printed cotton and also in black silk for fun!
Really appreciate your blog.
I am trying super hard to put the pattern together with no luck ���� if you can offer advice IDE be so happy. But I can also go and print out the full page if it's not possible.
@LisaLisa. I'm so sorry. Are you saying you're having problems putting the multiple page PDF together? It should be three across and five down. The pages are also arranged in a "landscape" orientation rather than "portrait". Does that help? If you need further help just let me know. mytumtumtree@gmail.com
@Kathleen Frances
Thanks so much going to try again. This is the cutest dress :)
How many yard would I need to make a large for the size of the dress? This is absolutely wonderful!
@Christina BuiI fit the front and back onto one yard so at most you'd have to double it which isn't so bad when you're only talking about 1 yard vs. 2 yards.
I just printed the at home version of the pattern. None of your pattern pieces are numbered and I don't know what goes to what. The most I was able to piece together we're the 2 pieces that had text on it (total of 4 pieces total) how do I figure out which grey piece goes where?
How in the world do you put the pattern pieces together if you are printing from home?
Love the dress! Does the pattern include the seam allowance (looks like it in one of the pictures but not sure)? Thanks!
Does this include seam allowances or do I need to add them please? Thanks
Does this include seam allowances? Or should I add them? And if so how much? Thanks
Love this dress, thanks for sharing the pattern! Was very straightforward and way to put together. One question, does the pattern include seam allowances?
@Renny TSeam allowances are included.
Hi,
If I want to print this at a copy shop, what size page should I print it on?
Thanks!
Post a Comment