


Materials (for a size 6 dress measurements waist: 27", bust: 33", hips: 36") If you want this in a larger size here is a great tutorial for enlarging a pattern.
Pattern
1 yard of main fabric for bodice and skirt
8" of collar fabric
12" of sheer fabric for yoke
3 yards of piping (four if you're adding piping to waist)
2 yards of bias tape for armhole opening and collar seam allowance
20"-22" invisible zipper
disappearing ink marker
Step 1:
Measure 4"x4" square to be sure that the pattern printed correctly. Make sure you print at 100%, do not "fit". If the square is correct then tape the papers together (they over lap by 5mm, marks are on the corners of each page) and out cut pattern pieces. Then arrange pieces according to fabric as arranged in the diagrams below. These pictures are based on material 46" wide folded in half.

Trace pieces of pattern onto material. You can also pin it and cut but I prefer to trace. I think you get a more accurate cut that way. I use disappearing ink which you can buy at JoAnn's for very cheap. But you can also use a thin marker since the edges will be on the seam allowance. I do usually pin the pieces to the fabric while I'm tracing. ESPECIALLY the sheer pieces. That fabric is no joke. It shifts without you even noticing. It's awful! Fortunately the pieces that need to be cut on it are not very large.
Step 3:
Cut fabric.
Step 4:
Make the marks for the darts on the wrong side of the fabric with the disappearing ink pen. There are darts in the front bodice, back bodice, front skirt and back skirts. To do this I place the pattern on top of the fabric and mark points at each of the three corners of the triangle. Then I use a ruler and connect the dots. For the dot in the middle of the pattern I place a pin through the paper then slightly lift the paper and make a mark where the pin is in the fabric.

Step 5:
Line up the dart marks and sew together. Trim center. Iron seam open. (I prefer to iron them open but you can just iron them to the side) It's up to you.

Step 6:
If you are adding piping this is where you should start. To make things easier I add my piping before sewing my pieces together. It's SOOOO much easier that way especially if there are lots of curves and corners like in this pattern. First sew your piping onto the top edge of the RIGHT SIDE of your front bodice so that the seam allowances match. At the center where the fabric forms a 'V', backstitch and cut your thread. Cut a 'V' in the seam allowance of the piping tape (not the bodice). Fold the piping to make a sharp corner and begin stitching again to opposite side.


Step 7:
Sew your piping onto the outer part of TWO of your collar pieces. When you get to the corners repeat what you did in Step 6. Also after you have sewn the piping to the collar, cut slits the seam allowance of the rounded edges of the piping.


Step 8:
Sew your piping onto the top of your back bodice pieces.
Step 9:
Sew your front yoke piece to your front bodice. I recommend starting at the point in the 'V' and sewing to the armhole. Then go back and make a cut in the seam allowance of the yoke at the point in the 'V'. Fold yoke's seam allowance to match the bodice's seam allowance and start sewing at the 'V' again to the other armhole.


Step 10:
Sew your back yoke piece to your back bodice.

Step 11: This is optional but since you are using a sheer fabric you don't want the seam allowance to of the bodice pieces to stick up and show through the sheer fabric. What I do after I sew the yokes to the bodice pieces is topstitch just under the piping on the bodices so that the seam allowance is forced down against the bodices.
Step 12:
Sew your front and back yoke pieces together at the shoulder seams.
Step 13:
Use your bias tape and sew to the armhole openings of the bodice, enclosing the raw edge of the fabric.

Step 14:
With wrong sides together, sew the front bodice to the back bodice at side seams.

Step 15:
With wrong side facing each other, sew the collar facing to the collar around outside edge. Turn right side out and iron. Now this next part is totally optional but what I do to make a good looking scallop is I pinch the corner from the inside of the collar and make a couple stitches through the place where I've pinched (about 3/16" in from the corner edge). If that's too confusing you don't have to do that but I think it makes the scallop look sharper.

Step 16:
Starting at the middle of the front yoke, pin one of your collar pieces to the wrong side of your yoke so that the right side of the collar and wrong side of yoke are facing. Repeat for other collar piece.

Step 17:
Sew collar to yoke pieces. There should be a little excess at the yoke in the back. Trim seam allowance to 1/4" then cut slits in curves of seam allowance.

Step 18:
Now take your bias tape and enclose the raw edges of the seam allowance (including the extra yoke in the back). Now take the bias tape you just sewed to the raw edges of your seam allowance and top stitch it to the wrong side of the yoke.

Step 19:
Turn your collar piece through the neck hole opening and fold over so that wrong side of collar is facing the right side of the yoke. The fold should be where the yoke and collar meet. Iron in place.
Step 20:
With wrong sides together sew your front skirt piece to your back skirt piece at side seams (curved edges). Iron seams.

Step 21: (optional)
Sew your piping to the top of your skirt pieces. If you are going to be wearing a belt with this dress then don't sew piping into the waist.
Step 22:
Hem the bottom of the skirt. I like to do this step before I sew the skirt to the bodice. It's just easier to handle the material when there's less to deal with.

Step 23:
Pin the skirt to the bodice, matching darts and side seams. Sew together. Iron seam.

Step 24:
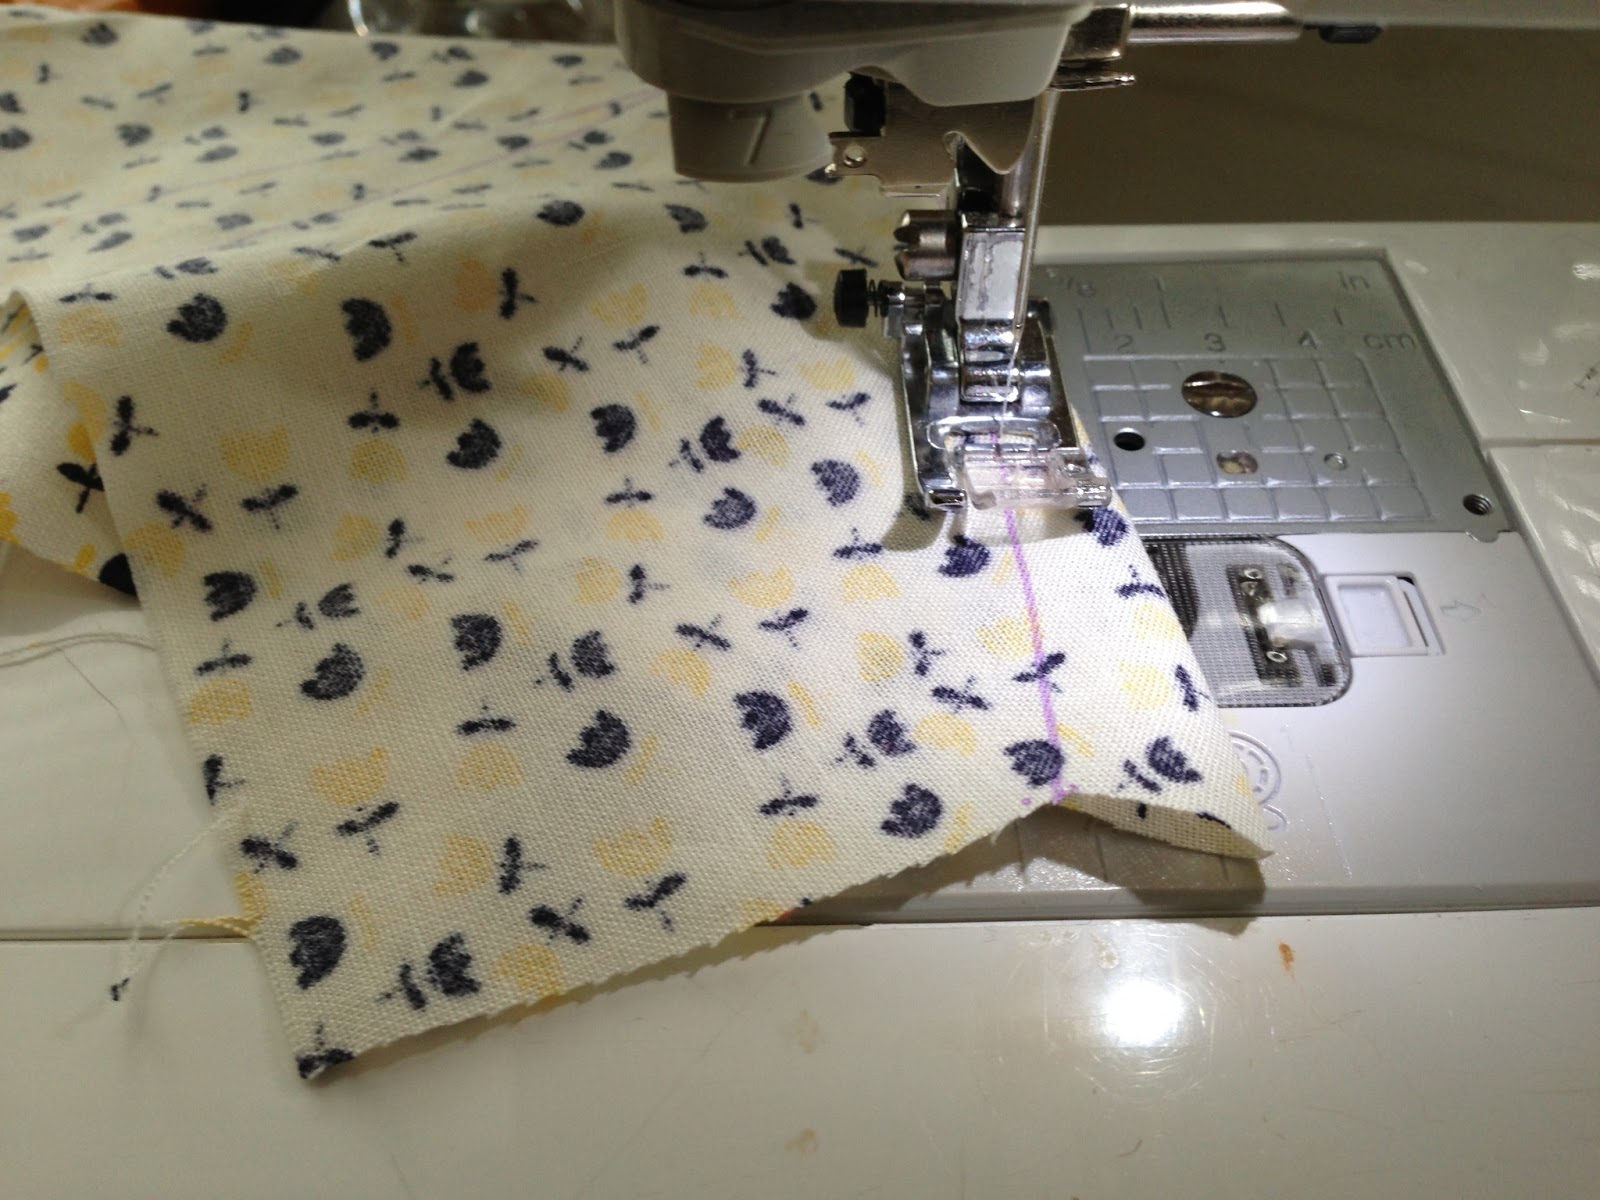
Beginning at top of back yoke sew in your invisible zipper. Here is a tutorial about sewing in invisible zippers if you need help. Make sure that seams match.

Step 25:
Sew the remaining edge of back skirt pieces (below the zipper) wrong sides together. Iron seam.
Step 26:
Now go out and enjoy that adorable new dress! That's the most important step of all;-)


 Like not spending money?
31 {comments}:
I love this dress and thank you for such a great tutorial! I have the perfect fabric in mind, and I can't wait to get to step number 26!
Yay I love this! Thanks so much for the pattern!!
The dress looks great on you! I hope there'll be soon a chance to give it a try ;-)
better than red!
thank u new project
tahnk u inspiration
thank u free pattern!
thank u continue to make new dreses!!!
The dress is lovely, it works so well in both red and yellow. Thank you for sharing this.
So pretty!
The title is "Mandala Book Shelf How To," but there are no instructions. Odd...can anyone help me with this, please?
Thank you,
New Reader-MFB
Wow so pretty - and a pattern in my size! Thanks for the tutorial and pattern! -Jen
Hello - I think I MAY have missed out on the free version of the pattern (when I click the link nothing appears). Is there a way to still obtain it? What are you charging Honey? Thanks for all your fab inspiration! x
Its really very beautiful post.
abbigliamento donna
I love the dress!! the form, the color, all! thanks!
@NessySWhat happens when you use this link?
https://docs.google.com/file/d/0B5EpqS6-ldJENkFMX0hVU3RqYWc/edit?usp=sharing
@Kathleen Frances
Thanks for that - both links are now working for me - it must of been some glitch with my computer.. or some other random thing. Sorry to worry you! I've printed it out and can't wait to start on it. Thanks again for a fab pattern Hon x
Beautiful! I love your color scheme. Playful, flirty, fun. And the cut is lovely too. I'm inspired. Lynaea @ EverydayBloom.com
I have linked to your great sewing tutorial. Thank you for sharing it.
Thank you for this pattern. This dress really rock this springtime.
Hi and tha,k for this gorgeous skirt. Seam allowances are not included, right ?
What a lovely dress! I can't believe you made it available for free--I feel so lucky to have found it :) Going to start following your blog. Love your style!
bethbeingcrafty.blogspot.com
Hello ! Thank you so much for this tuto ! I'm French and i just finish this dress : to see it:
http://ululelalibellule.canalblog.com/
Thanks, you are wonderful ! ;)
Wow, what a great candy :)
I love this dress: downloaded and pinned!
Hugs,
MammaNene
SergerPepper
Waauw!
This dress looks awesome! I will try it :) I absolutely love it. Do you have a picture from the back of the finished dress? That would help me a lot, because I can't imagine what it looks like :)
Greets,
Emmeline (Belgium)
Waaauww!
This dress looks awesome, I will try to make it myself :) Do you have a picture of the back of the finished dress? I might help me, I can't imagine what it looks like from the back.
Greetings,
Emmeline (Belgium)
@EmmelineYou know, I don't know why I didn't take a photo of the back. How silly of me. You can see an illustrated version of how the back looks here: http://www.burdastyle.com/patterns/the-partly-sunny-frock-free-pattern
Hope that helps!
Gorgeous! Thank you for the pattern and instructions - I can't wait to try it.
I can't work out whether you have included seam allowances and if so how much?
sorry but i cant see on the page anywhere, whats the seam allowance for this dress? Thanks!
first i want to thank you for the pattern for this amazing dress and second i want to thank you for being the same size as me. i was able to whip it up in an afternoon and it is fabulous.
hello..I can't work out whether you have included seam allowances and if so how much?anyone knows please...
@Jill LaysonYes, seam allowances are included.
Thank you Kathleen..
@Kathleen Frances, how big is the seam allowances?thank you
<3 <3 <3 i love her soooooooo muuuuch !!!!!!!
Post a Comment