


Welcome to day EIGHT of the Disney Inspired Ribbon Sculpture Patterns. During each day of the week (except weekends) I'll be posting the pattern of a Disney Inspired Princess Ribbon. Fun, huh?! Today we're doing Pocahontas. Get all the tutorials for all the Disney Princesses as I post them in the link below:


Pocahontas is great because she's the most unique of the princesses. She doesn't have a full ball gown but she does have a clever little fringe at the top of her dress. I love it!
Materials:
Hot glue
no-fray spray (or hair spray)
Start out with these lengths of ribbon:
tan: 3", 2¼ ", two pieces of 1½ "
brown: two pieces of 1½ ", three pieces of 2½ "
off white: 1"
blue: 1"
dark brown: 1½ "
orange: 1"
black: 2", four pieces of 3"
Step 1: Roll 3" piece of flesh colored ribbon into a circle and glue. This will be your head.

2. Take your 1" piece of blue. Cut 1/3rd off and spray with no fray spray.
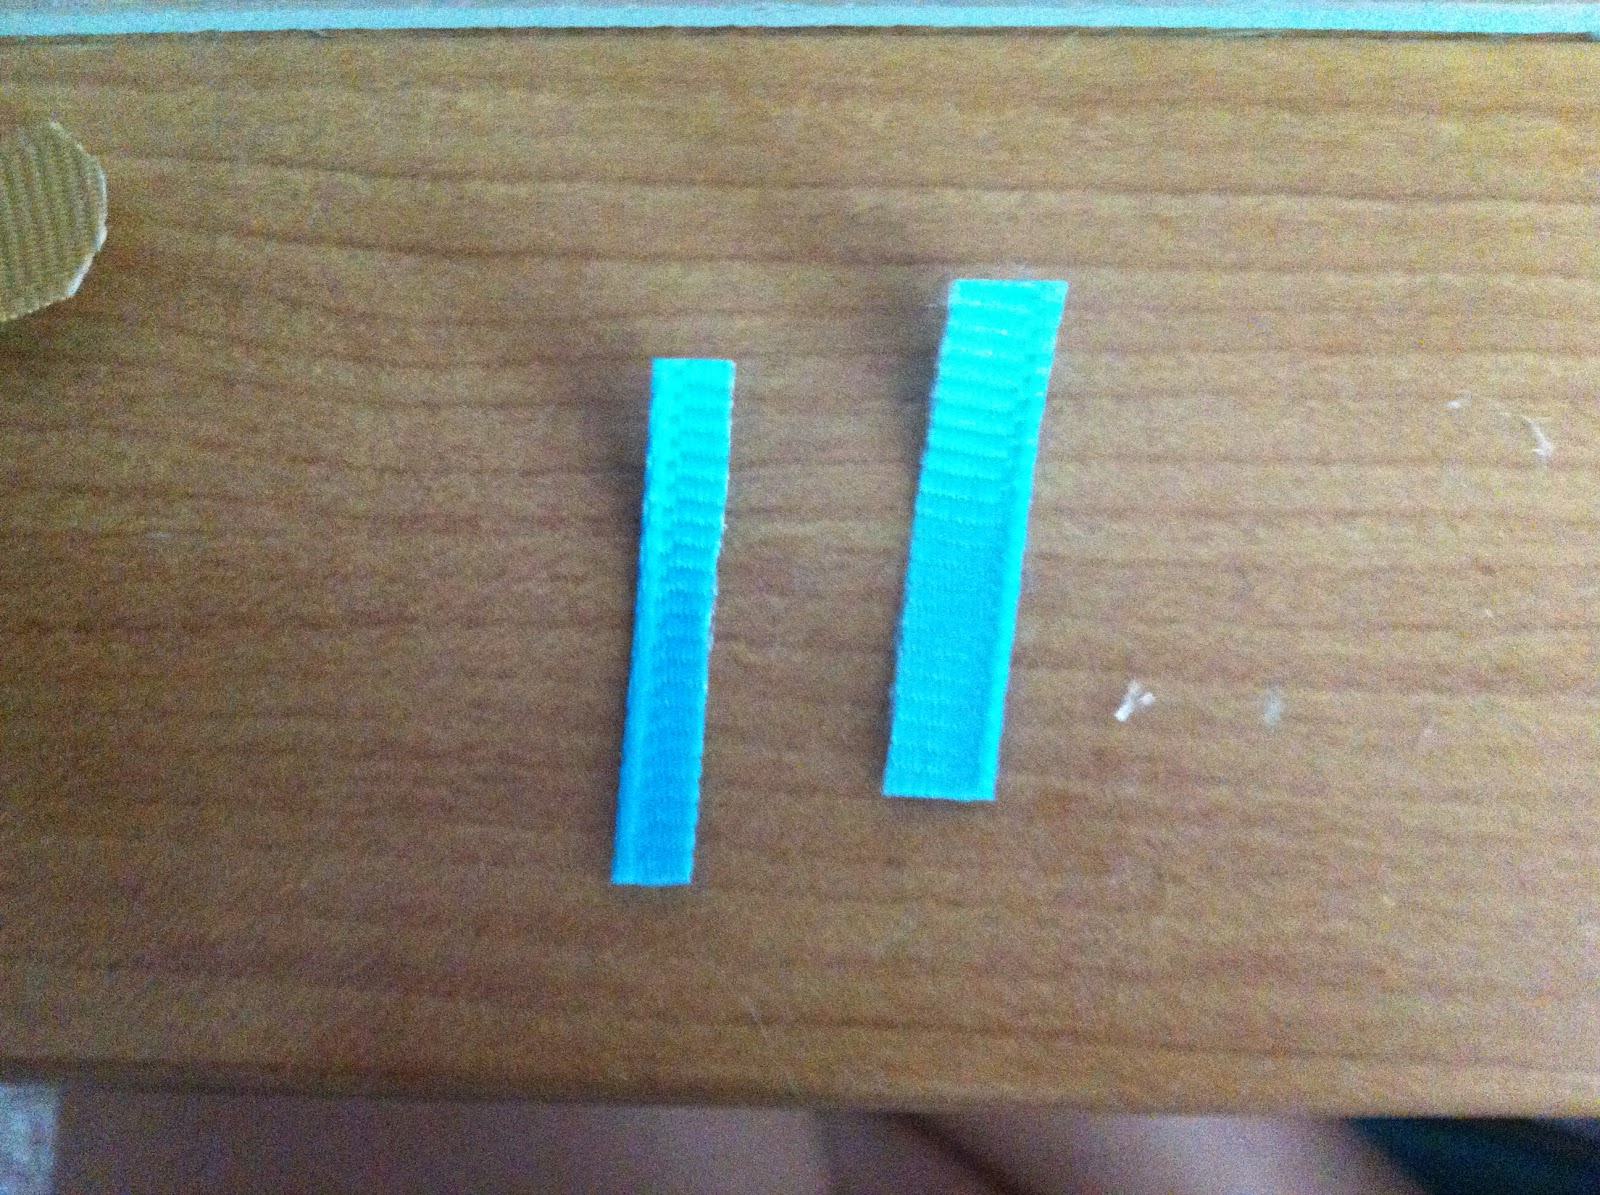
3. Wrap it around the neck just under the head with the ends glued to the back. This will be her necklace.

4. Take one of your brown 1½ " pieces and and cut the bottom so that it is the shape of a triangle. Spray with no fray spray.

5. Wrap it around the back of your body and glue ends at back. (Note: the blue ribbon is missing from this picture but should be there).

6. Take your 1" piece of off white and cut in half lengthwise. Discard one of the pieces. DO NOT spray with no fray spray.

7. Take the other pieces and remove the loose strands of ribbon so that you are left with the edges and a fringe below.

8. Take your 2¼ " piece of tan ribbon and cut rounded ends. This will be your arms. Spray with no fray spray.

9. Take your other 1½ " piece of brown ribbon and cut in half. Discard one of the pieces. Spray with no fray spray.

10. Wrap it around your arms with the ends glued to the back and slightly skewed. Also don't glue in the middle but slightly to the right. This will be your sleeve.

11. Glue your arms to the back of your body. (Note the blue necklace and sleeve are missing in the picture but should be included by now).

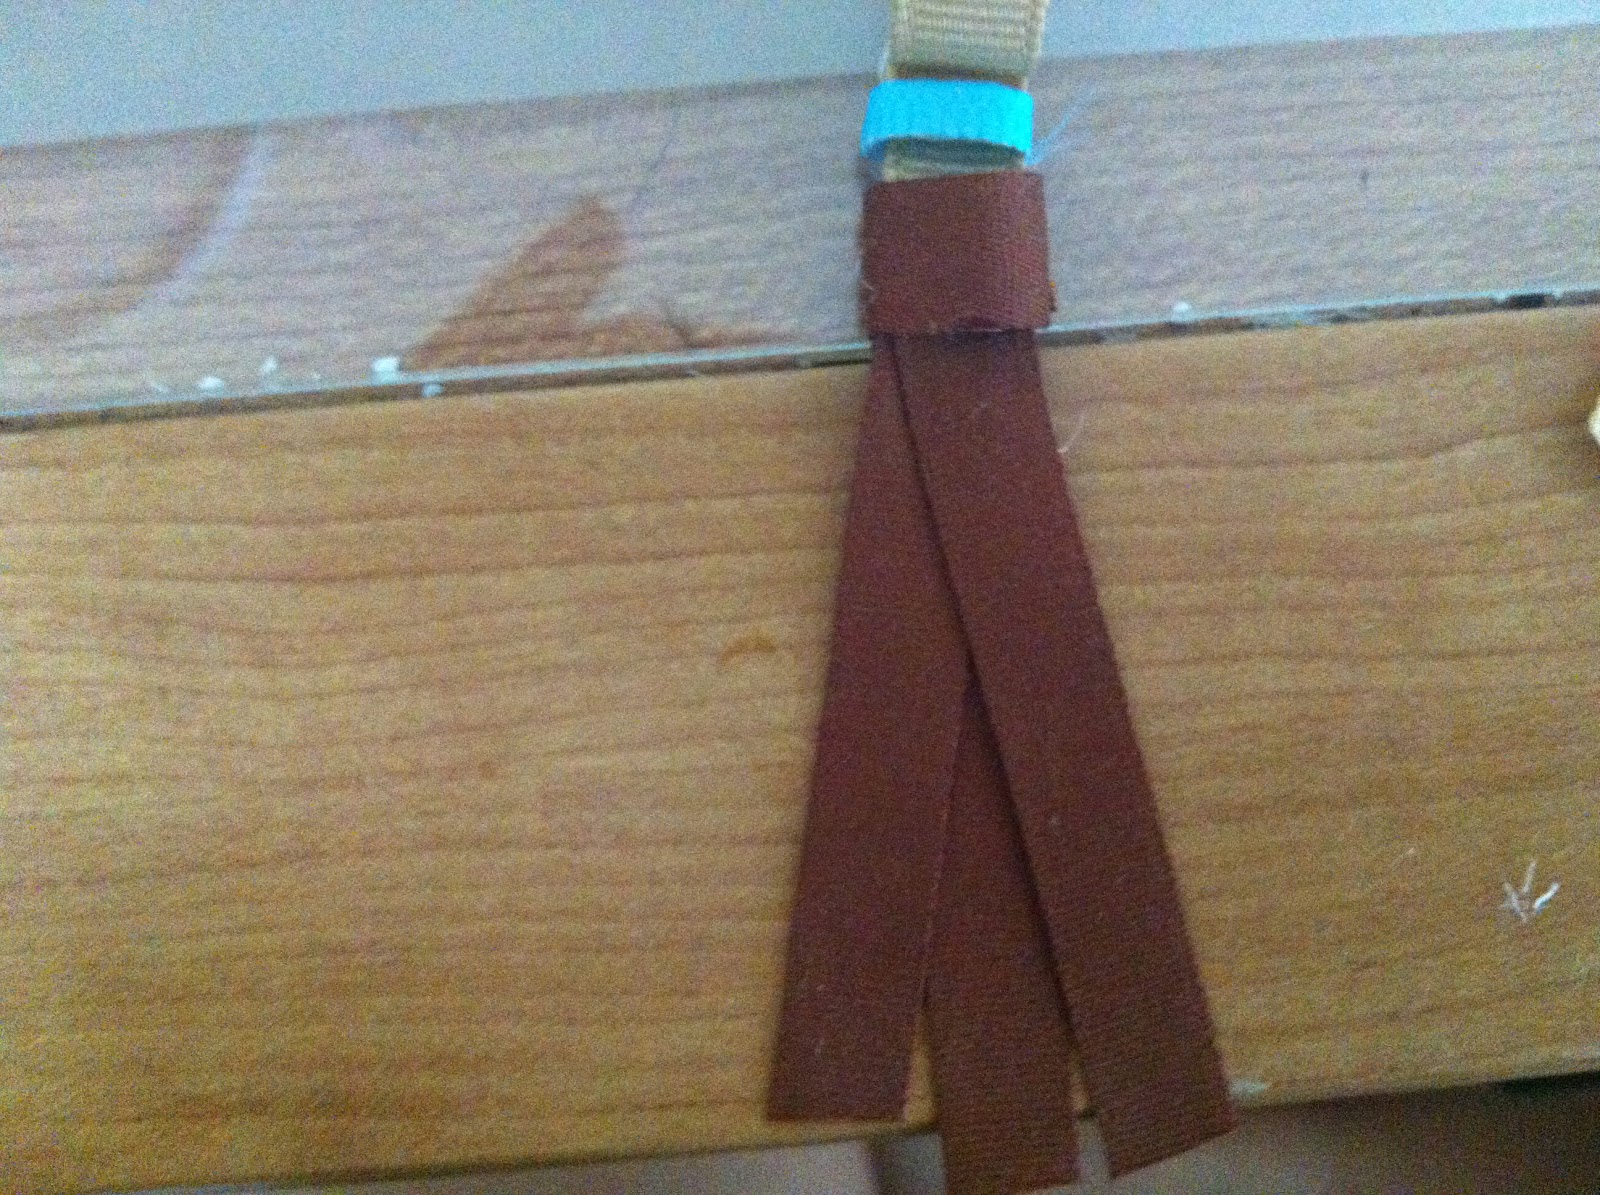
12. Take one of your three pieces of 2½ " of brown ribbon and glue it to the back of your body. (Note: the middle brown piece shown in the picture is not in a V shape but should be at this point).

13. Take your other two brown pieces of 2½ " and glue then under the wrapped brown piece in a v shape as shown below. (Note: the middle brown piece shown in the picture is not in a V shape but should be at this point).
14. Take your dark brown 1½ " piece of ribbon and cut off 1/3rd. Discard the other piece. Spray with no fray spray.

15. Wrap it around her waist, just below the wrapped piece of brown ribbon, with the ends glued to the back as shown.

16. Cut the three pieces of 2½ " ribbon into a point. Spray with no fray spray. (Note: the middle brown piece shown in the picture is not in a V shape but should be at this point).

17. Take your two piece of 1½ " tan and cut the ends into rounded edges. Spray with no fray spray. Then glue to back of skirt as shown so that about ½ " peaks out from beneath the skirt when you flip her over.

18. Take your 1" piece of orange piece of ribbon and cut 1/3rd off lengthwise. Discard the other half. Spray with no fray spray. Wrap around other side of arm and glue ends to back of arm. This will be her arm cuff.

19. Take your fringe that you made in step 7 and glue it to her body. To do this bend her arm back and glue one end of the fringe to her back.

20. Wrap it around the front and glue the other end over her shoulder and to the back of her arm, in back of her brown sleeve.

21. Like so.

22. Take your three 3" black pieces and glue to head starting at crown and ending at nape of neck.

23. Wrap the other 2" piece of black ribbon around her head over the other three black pieces so that the ends are glued at the nape of her neck.

24. Cross the pieces of black ribbon over each other as shown below and glue in place.

25. Cut off the black ribbon in a wavy point so that the hair looks long and flowy. Done!

Share!


 Like not spending money?
2 {comments}:
Another great tutorial! I did end up with an extra piece of tan, brown and dark brown ribbon. For the blue and orange, i used 1/4" grosgrain.
Nice blog.......
http://www.Gurgaonflowerplaza.com
Post a Comment