Tinkerbell is super cute with her short skirt, thick bun, pompom shoes and of course FAIRY WINGS!
Materials:
Hot glue
no-fray spray (or hair spray)
Start out with these lengths of ribbon:
flesh colored: 4¾", 2¼ "
green: six pieces of 1¼ ", 1", ½ "
yellow: 1½ ", two pieces of 1"
white: Two pieces 4", Two pieces of 3", ¾"
Step 1: Roll
4¾" piece of flesh colored ribbon into a circle and glue. This will be your head.
Step 2: Cut 2¼ " piece at each end so that the tips are rounded. Spray with no fray spray. These will be your arms.
Step 3: Take your six pieces of green 1¼ " ribbon and glue them in a fan shape. Then glue the fan to the front of your body.
Step 4: Take your 1" piece of green ribbon and wrap around body, gluing ends to back.
Step 5: Then turn her over and cut a wide, shallow "V" in the front the piece you just glue in step 4. Spray with no fray spray. (Ignore her arms and wings in this picture. I took this after she's finished).
Step 6: Glue arms to back.
Step 7: Glue your 1½ " piece of yellow to the back of her head just above her arms.
Step 8: glue the rest to the top and cut ribbon at a slant for her bangs. Spray with no fray spray.
Step 9: Take one of your 1" pieces of yellow ribbon and glue in a ball. Repeat for other 1" piece of yellow ribbon.
Step 10: Insert one yellow ball into the other. One horizontal the other vertical. Then place a dot of glue on the inside at the top and bottom to secure in place.
Step 11: Glue ball to top of head.
Step 12: Cut flesh colored ribbon at bottom in half. Spray with no fray spray.
Step 13: Take your ½ " piece of green ribbon and cut from lower left corner to upper right corner. Spray with no fray spray.
Step 14: Glue to bottom of legs.
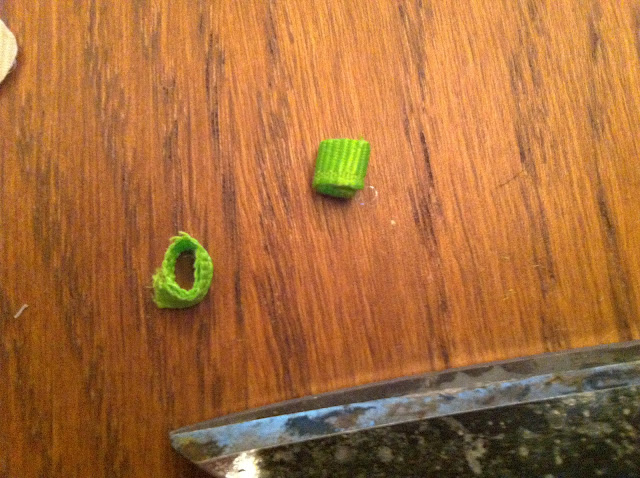
Step 15: Take your ¾" piece of white ribbon and roll in a very small ball and glue end in place. The picture is below shows a green ribbon but you should use white.
Step 16: Using the white ball in step 14, cut in half so that you have two balls. Spray with no fray spray. And glue to toes of feet.
Step 18: Take one of your two pieces of 4" of white ribbon and glue ends together like so. Repeat with one of your 3" pieces of white ribbon. Repeat for other 4" and 3" pieces of white ribbon.
Step 19: Take 4" piece and glue to back so that the wing appears between her head and arms. Take the 3" piece and glue to back so that it appears between her arm and skirt. Repeat for last two wings on opposite side. DONE!
SHARE!


2 {comments}:
I am absolutely in love with these! I have two little girls and these are perfect for them for our trip to Disney World in October! I can't wait to see the rest of them!
These are adorable!!! have 5 granddaughters 13, 10, 7, 7, 4. Looks like I am going to be very busy! Thank you!!
Post a Comment