


Today's guest will make your heart melt. Please welcome Jessica of Happy Together and her adorable Runaway Dish and Spoon Pattern!
(Today's featured pattern after intro)
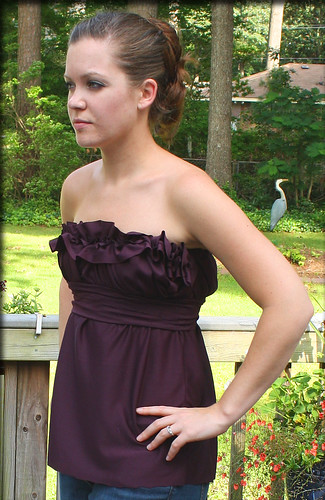
I discovered Jessica's blog through my flickr group and the first thing I ever featured was her lovely ruffled necklace tutorial. Although, had she not posted on Grosgrain flickr I would have definitely discovered her though her other projects which are always being featured on other great crafts sites too! She's quite crafty!
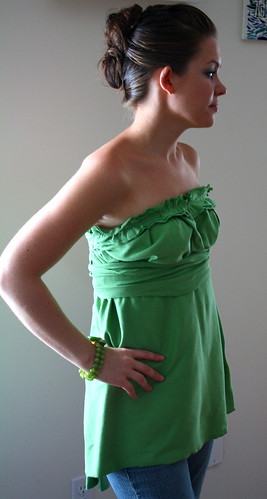
She loves to try new refashions, making softies for the little ones and making dresses for her daughter.
I think my all time favorite was her Dress Up Skirt!

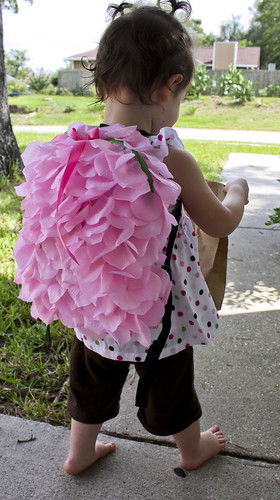
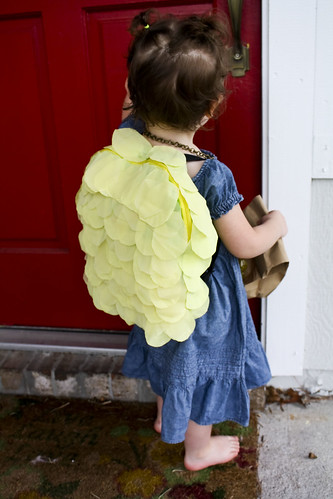
Her adorable petal backpack looks like something out of a high end children's boutique.
 |  |

She started her blog to be her creative outlet. (Sound familiar?!)
Says Jessica, "I want to share what I am doing with hopes of inspiring others."
Featured tutorials: above right, above left, below left and below right!
Featured tutorials: above right, above left, below left and below right!

Now, please allow me to welcome Jessica and her sweet pattern!
~~~~~~~~~~~~~~~~~~~~~~~~~~~~~~~~~~~~~~~~~~~~~~~~~~~~~~~~~~~~~~~~~~~~~~~~~~~~
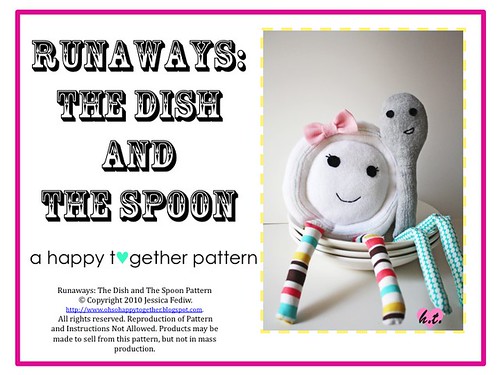
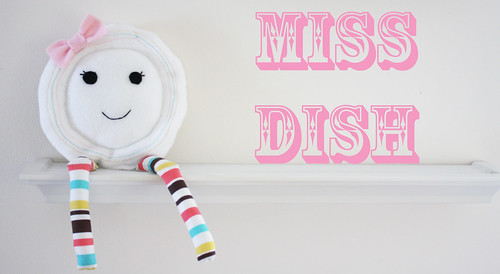
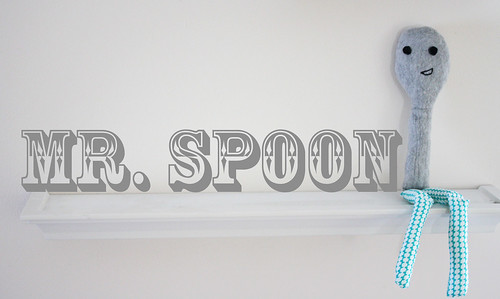
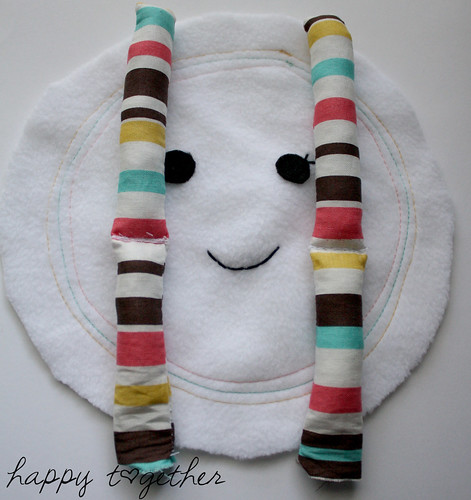
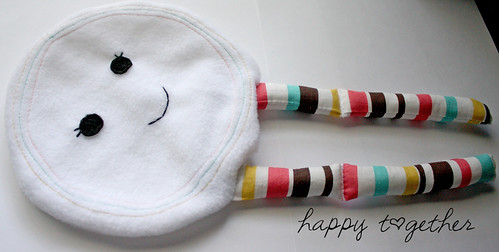
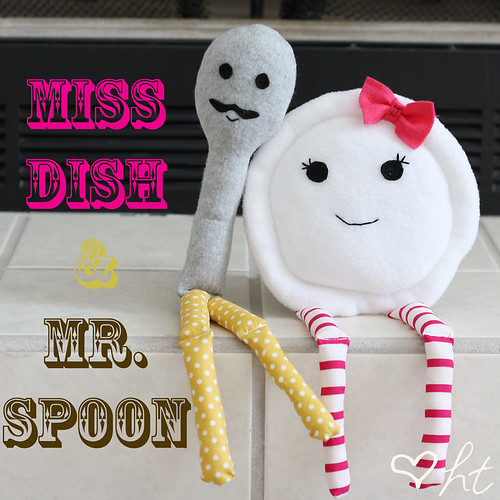
Hello all you fabulous Grosgrain readers! My name is Jessica Fediw and I blog over at Happy Together. This is such an exciting month here and I'm loving what I see so far! I'm also super excited to share a free pattern with you. Today I'm sharing with you a pattern that I put on my blog last year, but it's been a big hit.I introduce you to Mr. Dish and Miss Spoon:
I came up with the idea when trying to think of a baby gift for a blog friend of mine. Once I made a pair for her, my daughter just had to have a pair too. She didn't want to give up the first pair that was suppose to be a gift! lol. So, whenever something is big to her I usually try to share it with everyone.
*Here is what you will need to get started*
Fabric and Notions:
- ¼ yard white fleece
- ¼ yard gray fleece
- Scrap fabric for legs and other accessories
(like bow ties, hair bows, etc.)
- Embroidery thread (black)
- Black felt (Or substitute with safety eyes)
Other Supplies:
- Fiberfill
- Coordinating thread
- Scissors
- Straight pins
- Pattern pieces cut out
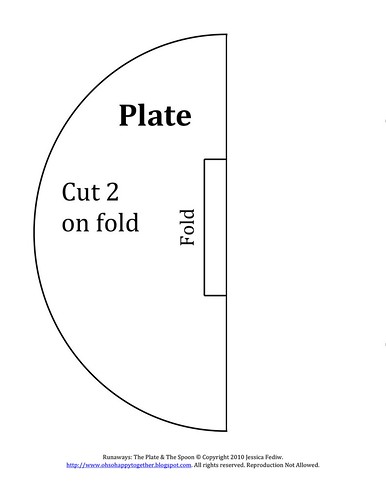
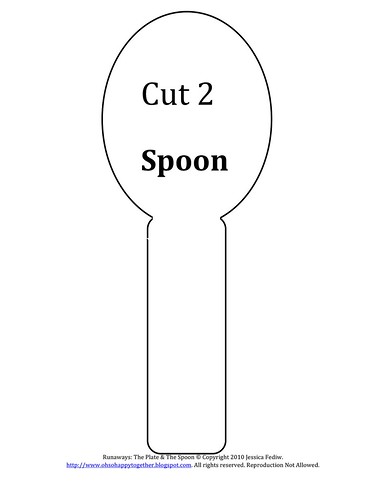
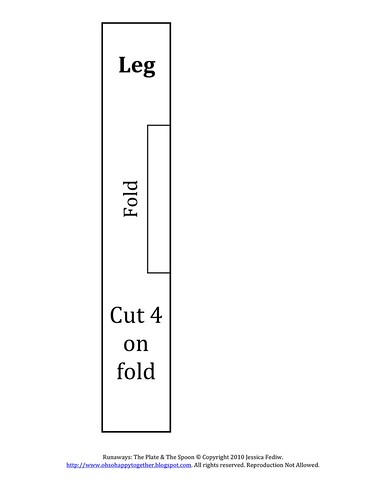
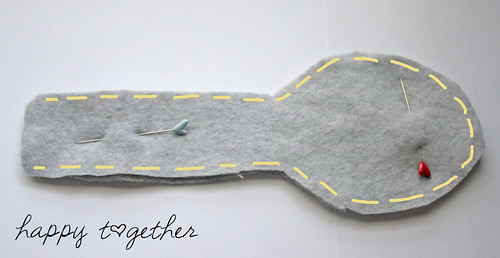
Here are the three pieces. You will need to save each picture and then enlarge it to cover a 8.5" x 11" page. You can also go here to get the link of where you can download the pattern pieces and pattern if you would like that instead.
-All seams are ¼” unless otherwise stated.
-ALWAYS back stitch at the beginning and end of sewing, unless otherwise stated.
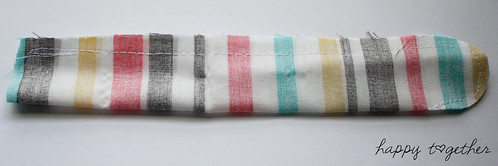
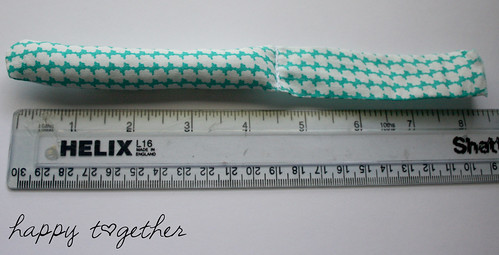
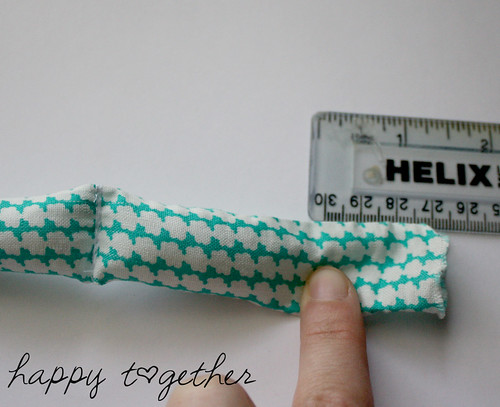
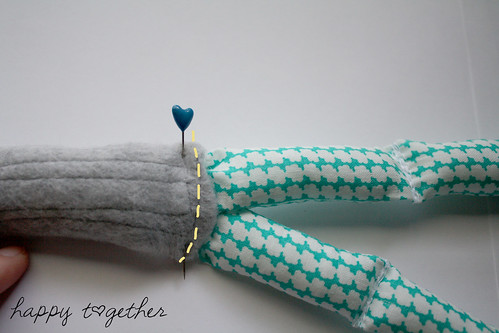
Step 1: Making the legs.
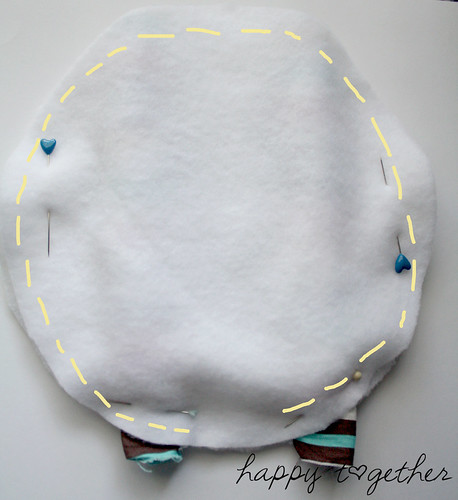
Step 2: Making the bodies.

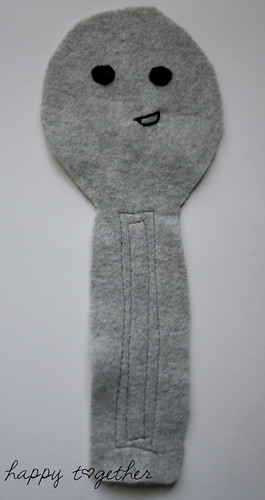
Take one piece and add a face. The spoons eyes are smaller than the dish’s. I just cut until I was happy with the result.
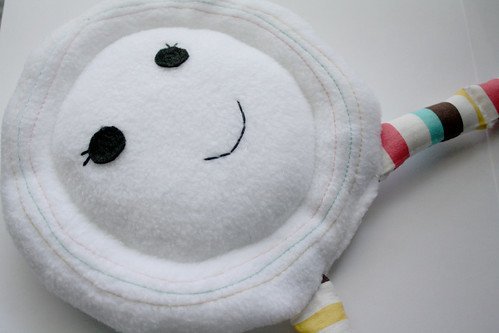
I also sewed an extra circle around the face.
h. Feel free to add on any accessories you like. You could make hats, bow tie, tie, hair bow, shoes, etc. Make it yours!
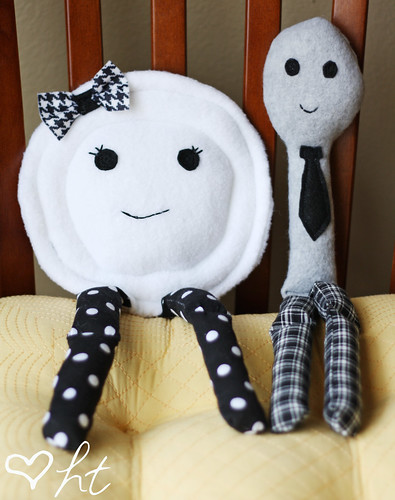
Here are a few others I have made:
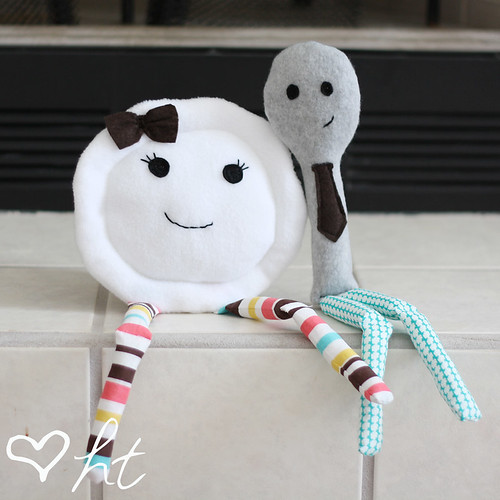
They are soft, cute, and the perfect size for little hands to hold. Plus, the legs seem to be a great chewing feature for the teething ones :) I hope you enjoy this pattern and thanks to Kathleen for letting me share!
Thank you Jessica! And thank you for sharing your pattern with Grosgrain readers!
Stay tuned for Monday when Grosgrain will welcome Mena from The Sew Weekly!
Thank you Jessica! And thank you for sharing your pattern with Grosgrain readers!
Stay tuned for Monday when Grosgrain will welcome Mena from The Sew Weekly!
Spread the word! It's a 30 day FREE for all!  | Spread the word! It's a 30 day FREE for all!  |
Spread the word! It's a 30 day FREE for all!  | Spread the word! It's a 30 day FREE for all!  |
Spread the word! It's a 30 day FREE for all!  | Spread the word! It's a 30 day FREE for all!  |


 Like not spending money?
6 {comments}:
Love these and am so proud to say that the first set in the pictures lives in my home and is treasured by my girls. It was a gift from jessica :) Love her..thanks again Jess!
Hi Kathleen! Just found your blog via happy together... so so happy I did - I love it already (and your exciting changes come May/June sure sound really exciting - can't wait for the pattern grading tute! Sounds interesting. Oh, and the 30 days of free patterns??? .... HEAVEN ☺
Thanks! Stop by and say hi if you get a chance at The Quick Unpick
Cheers
Found your blog yesterday and featured you on my blog today! love the patterns so far! Tina
http://sweetfloweret.blogspot.com
SUPER CUTE!!! I will try this soon.
SUPER CUTE!!! I will try this soon.
The Dish & the Spoon plush is a genius idea - bringing to life a classic nursery rhyme! Love it! Thanks for the tutorial! I featured it in my blog: http://www.plushiepatterns.com/dish-ran-away-with-the-spoon-stuffie-by-grosgrain/
Post a Comment