


(Today's featured pattern after intro)
I found Meg's blog when I happened upon her embroidered tin can cover tutorial which seems like ages ago. She embroidered a sweet little whisk onto her cover and it caught my eye.

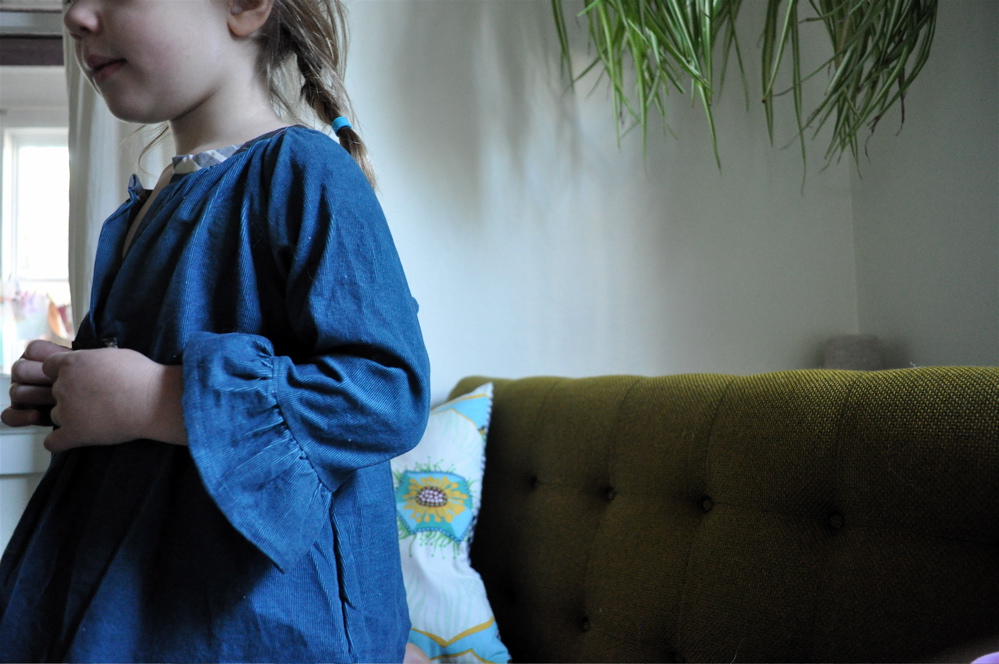
But since then Meg has had so many more eye catching photos and projects! So many cute clothes for her children...AND herself! Her style is organic and fresh with sweet detailing in her buttons, trims and gathers. Like the lovely dresses for her daughter above and below.
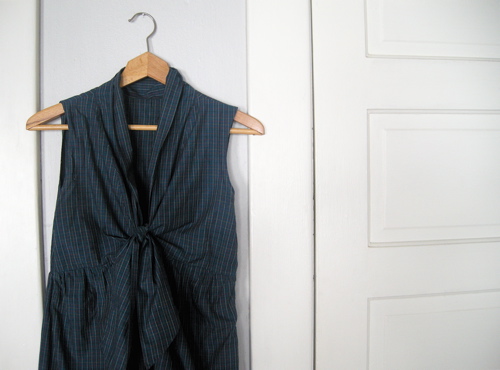
She gets a lot of her inspiration from Japanese sewing books. And I'll have to ask her more about them because I've always wanted to try them! They have such creative and unique results! Like the skirt below!

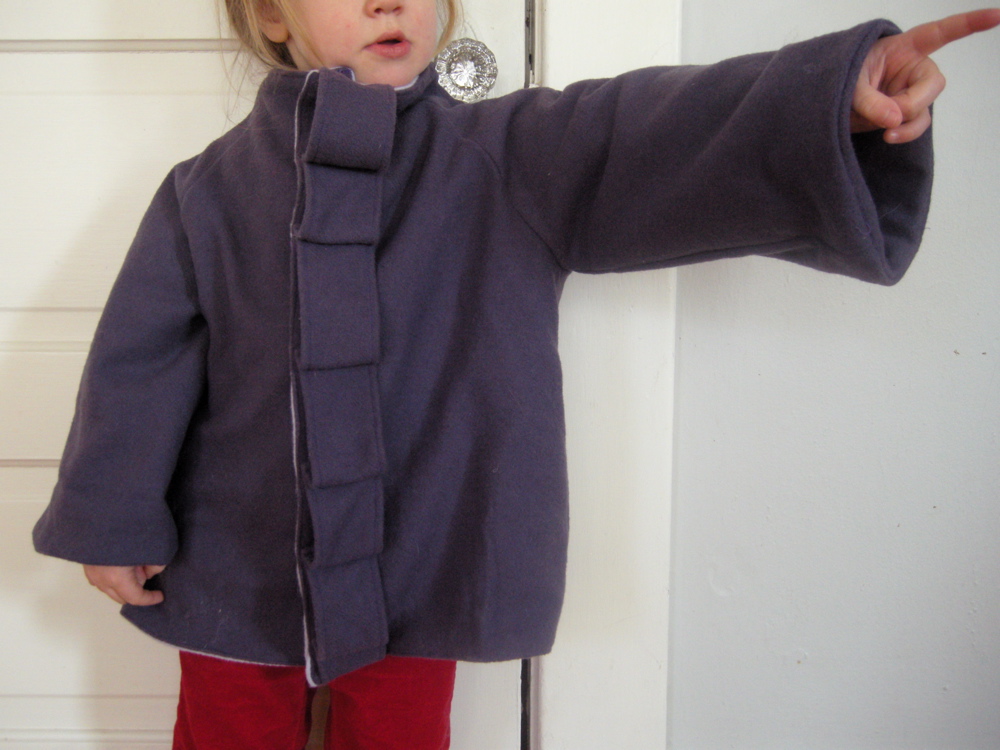
Love her little girl's purple ruffle coat! I bet not a single other girl looked as stylish walking down the street!
Says Meg, "I started to sew because my outlet for creativity--making delicate chocolates and elaborate desserts--was no longer possible with a little baby in tow. The first thing I made was a quilt, which, by the way, is a horrible first sewing project, but I learned about my machine and it got me excited to sew more. Since then I've learned to make clothes, plush toys, (better) quilts, and recently took up crocheting. All along the way, this wonderful and supportive craft blog community has helped me learn to make and inspired me to keep making."
And if you're wanting more Meg! (Like I do) She is having her Kids Clothes Week (KCWC) May 9th-15th! It's where a lot of the clothes you've seen in this post have come from. Serious inspiration!
 It's one week where readers commit to sew one hour a day for 7 days. (Loving this already!) Sewing clothes, of course, for your kids! Or other people's kids, but not your inner child and absolutely not your canine child. Want to make a big pile of little skirts and dresses and shorts and bow ties? Because a lot can happen in a week if you put in a little time each day. And with hundreds of people sewing along with you and cheering you on, well, you can't help but make great stuff! Go on the KCWC page and leave her a comment to let her know you're in!
Now let me let Meg do the talking! Meg, take it away!
~~~~~~~~~~~~~~~~~~~~~~~~~~~~~~~~~~~~~~~~~~~~~~~~~~~~~~~~~~~~~~~~~~~~~~~~~~~~~
Meg from elsie marley here and I'm very happy to be a part of all of this fantastic freeness on Grosgrain this month. For my contribution I'm going to show you how to alter a plain old pants pattern into one that will make super cute shorts for your little girl: knot shorts!

Materials
- an existing kid's shorts or pants pattern
- one yard material
- quarter yard (or so) contrasting material for facing
- elastic (1 inch wide, or whatever you have lying around)
- freezer paper, or some other paper to trace patterns
Directions

1. First you need to trace your pattern onto pattern paper, or newsprint, or I like to use freezer paper.
2. Now you need to decided how long the inseam on your knot shorts will be. I made mine 4 inches long. This is a medium length pair of shorts on a 5 year old girl. A one or two inch inseam sounds scandalous, but I've made knot shorts that short and they look great. And besides, kids have very short legs, so it's really not that short at all.

2. Whatever length inseam you choose divide it in half and make a mark. From that mark draw a line through the pattern and extend it 6 inches past the outer seam of the pants.

3. From the end of the line draw a nice curve down to the bottom of the shorts. And draw another line that gracefully curves up to meet the outer seam.
4. Repeat the process for the back pattern piece.

5. To make the facing for the shorts, first trace the front pattern piece. Then on your new piece, draw a straight line from the crotch (ugh, I can't stand that word) to where the tie begins to curve out. Cut on that line. This will be your facing pattern.
6. Now that the pattern is made you can cut your fabric. Cut two front pieces and two back pieces out of your main fabric. From the contrasting fabric cut 4 facing pieces.

7. Sew two facing pieces together, on the short straight side, right sides facing. Then serge or hem the long straight edge on top. Do this for the other set of facing pieces as well.
8. Sew the inseam together on both legs of the shorts.
9. Open up one leg of the shorts and put the facing on top-- as above--right sides facing.

10. Sew all around except where you hemmed (or serged). Clip the corners, turn out, and press.
11. Sew down the outer seams on both legs of the shorts. Stop right after you catch a bit of the facing, then backstitch a few times to secure.

12. Turn one leg inside out and the other right side out

13. Put the right side out leg inside the inside out leg--now the right sides are together. Sew all around the crotch (that word again, ugh).

14. Turn it out and press. You should have a very funny looking pair of shorts.
15. Make sure you have thread that matches exactly to your main fabric, then sew around the top of the facing to attach it to the shorts. Or if you want the seam to be even more invisible, you can sew it by hand.

16. Tie the knots, silly!
17. Fold the top edge under and press. Sew around to make a casing for the elastic. Insert elastic, insert child to see if they fit, sew up elastic and seam and ta da! Knot shorts!

I hope you enjoyed the knot shorts tutorial! Thanks so much for having me, Kathleen!
~~~~~~~~~~~~~~~~~~~~~~~~~~~~~~~~~~~~~~~~~~~~~~~~~~~~~~~~~~~~~~~~~~~~~~~~
No, thank YOU Meg for being my special guest on Grosgrain today! Your pattern is as perfect as your blog....AND YOU!Stay tuned tomorrow for Jessica of Happy Together!
Spread the word! It's a 30 day FREE for all!

Spread the word! It's a 30 day FREE for all!  | Spread the word! It's a 30 day FREE for all!  |
Spread the word! It's a 30 day FREE for all!  | Spread the word! It's a 30 day FREE for all!  |


 Like not spending money?
30 {comments}:
Not only do I love this my daughter would wear it! And it looks like a good way to use up fabric. HUZZAH!
I'm totally making myself a pair. great tutorial!
Kayla
Freckles in April
I fricken love this one, and plan to copy it exactly for my daughter, with chambray fabric and purple facings. amazing.
I'm just going to say it: I'm making a pair for myself!! Lol, and chances are that my daughter will want a pair, too so we'll match!
These are adorable! I think I will make a pair for myself, but make them just past the knees. I hope it works!
Super cute!! I'd like a pair for myself :)
Love the shorts and love all things Elsie Marley! Meg is so talented as are you Kathleen. Thanks for being so inspiring :)
those are deliciously cute. I'm so making these. TONIGHT!!!
Great pattern! I want to make one for myself ;)
Thanks for sharing!
Those are amazing shorts! So cute! I love them! Thanks for sharing!
Cute! I will make one for my daughter! Thanks for a great tutorial.
this is absolutely fabulous!!! I am so making these for my daughters...plural!
would it be acceptable for a 29 yr old to wear these? Cause I think I need a pair! loving this free pattern month! Thanks for hosting this!
Such a cute pair of shorts!!! I wonder if you could take pants that are already too short but still fit the waist and modify them into these shorts. I might just try that. My twin girls just had a growth spurt so they don't fit any of their pants anymore. Thank goodness it is summer already here in Southern California.
xx,
Elizabeth
These are darling! I kind of want a pair for myself. . . .
I absolutely love these. They would look great on my 8 year old who has very long and lanky legs. So cute!
Ahh I'm totally making a pair for myself! Thanks!
OH these are the sweetest thing Meg. LOVE them!
- dana
Cuuuuute! These are super adorable.
These are so sweet!! I am most definitely making myself a pair of these.
I am in love with free pattern month! and I'm in love with these shorts! No little ones but I'm going to try to make them for me :)
Adorable! I will be making some very soon!
~JamieS@ Scattered Thoughts of a Crafty Mom
LOVE this short!!!!
I want a pair for me!! Looks easy enough. Thanks so much! Really enjoying the 30 days of free patterns. I put your button on my blog at www.apronsandapples.blogspot.com
These are so awesome!!! I linked to your tutorial on Craft Gossip:
http://sewing.craftgossip.com/tutorial-knot-shorts/2011/05/06/
--Anne
Cute! I love them!
I love these shorts. I made my daugther a pair when this was first posted and I think she has wore them at least 4 or 5 times since then. I will definitly be making more in different colors.
love all you´re tutos!!!!!!!!!
I am looking forward to trying this for me and my little sisters! Thanks!
I stumbled across this pattern today and just finished a pair for my two year old. What a perfect, adorable touch to add to a little pair of shorts. Thank you!
Post a Comment