






Showing posts with label bedroommakeover. Show all posts

Bedroom Makeover Week Day 4: Ruffled Duvet (with materials from Ruffled Fabric)

March 25, 2011

For this duvet I used a preruffled fabric from Ruffle Fabric in Navy 2" ruffle with white stripe. She has some new peppermint ruffle fabric that to die for. I'm kind of glad she doesn't have it in blue and white because I might lamented missing out on it.

Love love love her stuff! Ruffle fabric makes for great instantly amazing projects. Use for pillows, curtains, even clothes! Some other items you should check out are her white ruffled maze fabric, blue bell cascading ruffled fabric and 2" taupe ruffled fabric.
For my king sized bed I used 6 yards of ruffle fabric and a king duvet insert from JoAnn's that was on sale for $20. For the back of the duvet I used a king sized 650 thread count sheet and as a fold-down contrast I used a vintage floral twin sized sheet with similar colors in the room.
I also made decorative pillow for the bed. I bought the pillows at the thrift store for just $1 each. I found some AMAZING satin teal diamond pleated material from Hancock Fabric for only $7! I'm thinking of going back and buying the rest of it.
You can't see them very well but I also purchased pink deco fabric from JoAnn's and covered two small rectangle pillows. The pink was a nice accent to the pink in the curtains and the contrast fold over vintage sheet.
It all looks very Anthro/Urban Outfitters to me. And I made it for a fraction of the price. I love it. Brian loves it. And most importantly, Molly loves it. If you want to make a duvet for your bed here are my suggestions for yardage based on bed size:

Twin: 66 x 96 inches- 3.75 yards
Full: 81 x 96 inches- 4.5 yards
Queen: 90 x 102 inches- 5 yards
King/California King: 108 x 102 inches- 6 yards

You'll have to cut your yardage in half and sew them together lengthwise.

Bedroom Makeover Week: Day 3 Fabric Headboard Tutorial

March 21, 2011

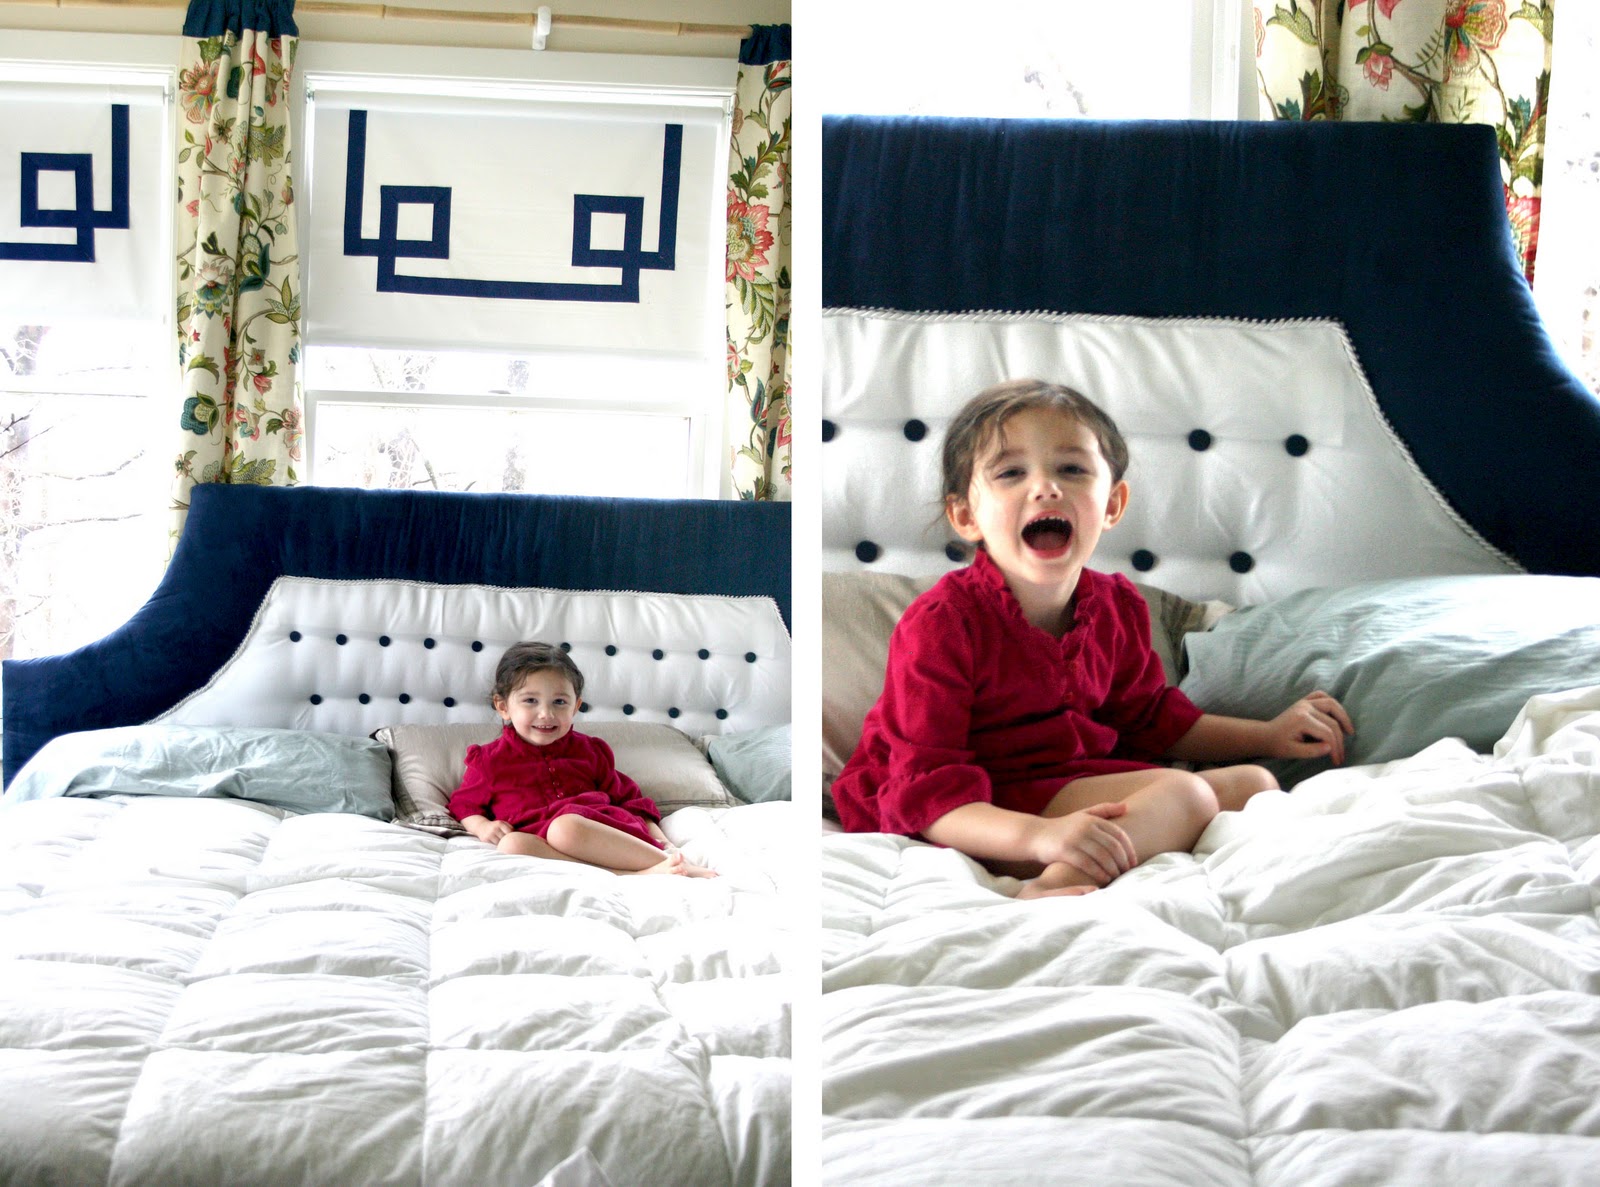
I love the way the headboard looks but I do lament it covering the window. Only because Eloise loved to look out the window in the morning. Now I feel sort of bad. If I had to do it over again I would have made this. Have any of you ever checked out Ana-white.com? She's amazing. All of her patterns are free!
I managed to make the resolution on the video a smidgen better. Now 720 pixels. PS, the video looks better when you watch it on Youtube. Click the little 'Youtube' symbol in the bottom right hand corner of the video on my page to go there. There are two parts. See I then II. Duh.


Anyway. I still love the new headboard. It fits perfect with the rooms decor.

Part I


Part II

And I just wanted to add this little nice pic of Molly smiling. It was before I put her in a cute dress but it was my favorite of all her smiles.
 Stay tuned tomorrow for a new spring DRESS giveaway!

Bedroom Makeover Week Day 2: Designer Fabric Curtains

March 17, 2011

If you know me, you know I DON'T spend more than $9 per yard on fabric. And anywhere between $6-$9 pains me especially when it needs to be bought in large quantity.

For the curtains I was planning in the bedroom I had a color scheme dilemma that was limiting my selection. My old color scheme (since 2004) was china blue and white. It's a great look but after moving into the house we live in now (in 2007) I realized that those colors mostly look good with a white washed hardwood floor (in my old house). I could have started over with the new bedroom but to save money I stuck with my old stuff and for years it's looked unimpressive and I've lamented it.
I don't know why but I kept the blue and white theme and half way between planning and buying materials I realized it wouldn't work. So I've been trying to inject a couple other palettes into my blue and white scheme. To make matters worse I bought a 600 thread count sheet set in teal. Which as you might think does NOT go with navy blue. And I wasn't going to toss the new sheet set or the new shades. I had to find something to tie it all together.

I found the perfect pattern at Hancock Fabric (see detail above). It had teal, it had green, pink and a hint of navy. Sort of modern oriental. You see. One problem. It was expensive. WAYY more than I wanted to pay. So here's what I did to cut on costs.
My windows were  about 55" long. Add to that curtain rod casing and seam allowance and I needed about 65". Originally I had planned to buy 6 yards and I had 6 curtains to make (not all shown in photos). Since my curtains were going to be solely decorative I could be flexible on width. I was going to cut the yardage in half lengthwise then take those two pieces and cut into thirds.
But my fabric was $17.95 a yard. That would be $108! Here's what I did instead. I bought only 4 yards and instead of cutting the yardage in half lengthwise I cut long strips widthwise. Since the pieces were now too short by about 10" I used navy fabric that I had on hand (but you could buy some broadcloth for $1 a yard) and sewed it to the top of my curtains in 10" pieces. This not only solved my length problem but it also added just enough extra navy to really PULL the color scheme together.
So in the end I only spent $72 instead of $108 and saved $36. Although still WAY more than I wanted to spend on curtains (especially homemade curtains) but I think the investment was worth the sacrifice because every time I walk into the room I feel like I want to stay. It's glorious. Last night Brian and I watched tv in bed for the first time in years, possibly ever. And I promise it's because we enjoy the space again.
Stay tuned either tomorrow or Monday for the headboard tutorial. I still have quite a few changes in store. This is by no means the final result. Oh, I can't wait. The room is gonna sparkle.

Bedroom Makeover Week Day 1: The Mitered Square Simple Shade

March 15, 2011

First off, I am soooo disappointed by the quality of this video. I originally shot it in HD quality. Then I used a great video editing software to add music, sped up time, add great titles. Turns out my computer is just too ancient to handle HD (despite the fact that I bought it a little over a year ago). So I had to scale it down to standard quality and get rid of all the neat effects. Booo. I do have a newer netbook I received for Christmas which might be able to handle the program. I'm doubtful. We'll see. For now, please enjoy the video in its medicore entirety.

I made these three curtains for only $28 total. The three shades were $6 a piece at Home Depot and a giant spool of ribbon was $7. Brackets were $1 a piece. Pretty nice. And most hardware stores will cut down your shade to a custom width for free.

To make:
8.5x11 Template Here scaled down to 1/2 actual size
1.5" wide Grosgrain ribbon (length depending on your shade measurements)
Shades (mine were cheap white vinyl ones but you can do this to any type of shade)
Hot glue gun and glue
Pencil
Measuring tape
Screwdriver

And hey! Just added a facebook 'Like' button! If you like this post (or others) please click. Thank you muchly.

Bedroom Makeover Week!

March 14, 2011

Recently Brian and I bought a new king sized bed. We were having a lot of problems with the full sized one we had slept on for umpteen years. In the final week I was pregnant with Eloise Brian slept on the sofa because I couldn't stand to sleep on my right side any longer and the old mattress had a slight dip in the middle which caused you to roll to the center when you slept on your left.

It was torture. Now, we really couldn't afford one of those $1,000 mattress and boxsprings that I longed for. After we left Longwood Gardens we stayed at The Lancaster Arts Hotel and they had an AMAZING king sized bed with pillowtop and high loft mattress. I just dreaded returning to our old full bed.

So we looked for alternative options. I eventually found mattresses sold on overstock for around $300. And we bought used boxsprings (chemically cleaned) for $50. My father gave us an old metal frame and I bought a memory foam topper from overstock for $50. All together we only paid $400 for a REALLY comfortable new king sized bed. And I can't tell you the amazingness of it all.

One problem. It didn't quite fit our bedroom. So we decided to totally rearrange the setup which wasn't a simple task. It required removing the old mattresses, a futon, a tv stand. And moving everything else to across the room. Including installing a new cable line for the tv which I did on my own. Not an easy task.

And it feels better but not quite....great. We were missing a headboard since our old one was full sized and the room lacked a color scheme/crispness. So I decided to make it my new project.

Therefore.....long story longer this week I will be posting all the great sewing projects/embellishments I'm doing to the room. Each day (fingers crossed) I'll be posting a new video. My first featured project will be my new shades. My old ones were shabby/sloppy (see top photo). So I made new ones with very little money and they look AH-mazing, if I do say.

Other projects to come will be:

Headboard Tutorial
Ruffled Duvet (Urban Outfitters copy)
Hanging Curtains
Embellishing a Bedskirt
Pillows
Fur Rugs

Left photo design inspiration

I don't have a 'before' photo which is for the best. We moved the toy box (formerly in the living room)to the bedroom because frankly we had no where to put it. Unfortunately it has caused a lot of mess. Think 'Hoarders'. Got it? There you go....'before'.

I'm still editing the video I made of the blinds which I'm going to try and post today but if I can't get it up by 1pm it will be up tomorrow morning. Trying this new video editing  software which is giving heaps of trouble.
 
Related Posts Plugin for WordPress, Blogger...