


Today I'm pleased to welcome guest One Pearl Button!
(Today's featured pattern after intro)
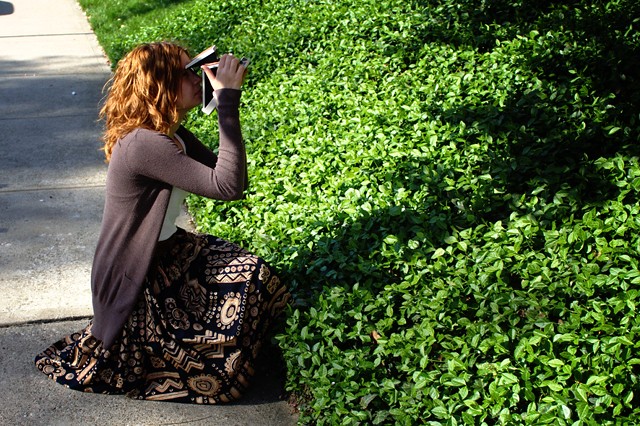
I found One Pearl Button when looking for Polaroid tips. Check out her guide to taking Polarioids here. But along with her love of Polaroids, Alli also loves to sew, craft and just plain create!
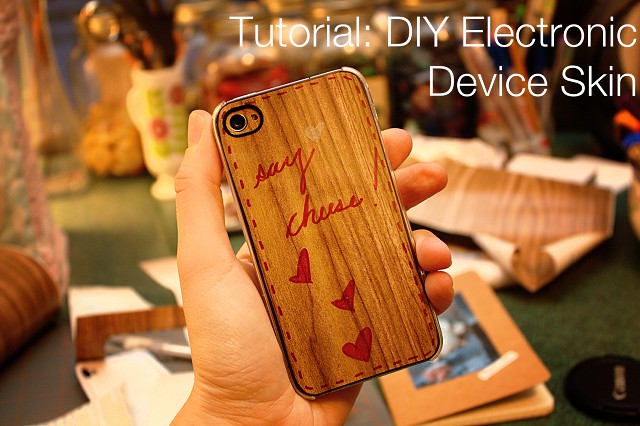
Remember how I said she's also a 'crafter'? Love this vinyl iphone skin cover!
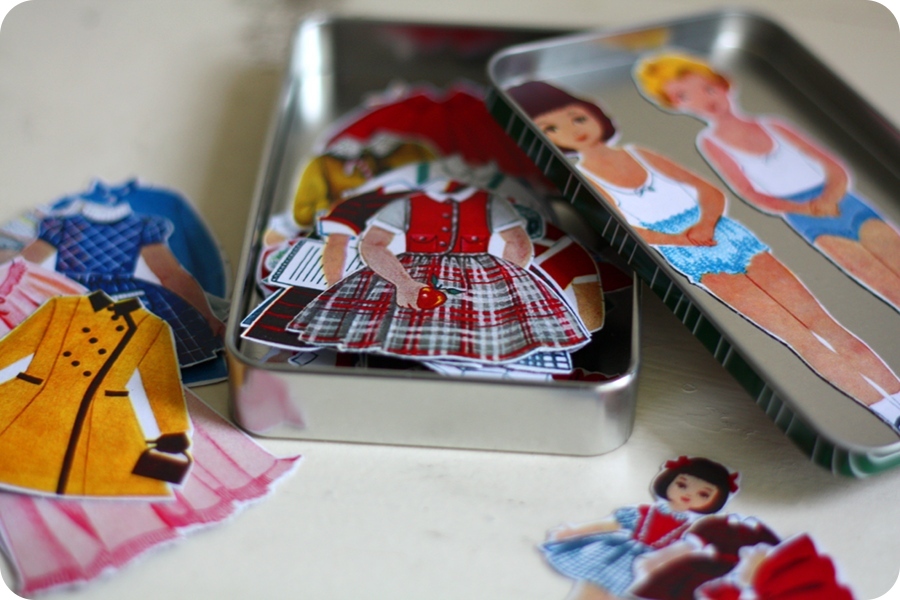
Or these magnetic paper dolls (which I've been dying to try myself).

Says Alli, "Although I consider myself the luckiest person in the world to have my dream job, I firmly believe that everyone needs a hobby! OPB is mine. I primarily blog about crafting (especially sewing, embroidery, knitting, and crochet) and photography, although posts about fashion, design, and life in general pop up, too! My goals for this space are to share what I've created, to inspire readers to live their own creative lives, and to make connections with creative friends."

~~~~~~~~~~~~~~~~~~~~~~~~~~~~~~~~~~~~~~~~~~~~~~~~~~~~~~~~~~~~~~~~~~~~~~~~~~~
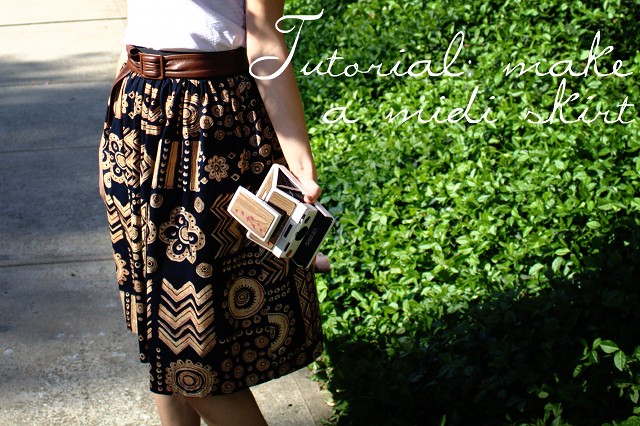
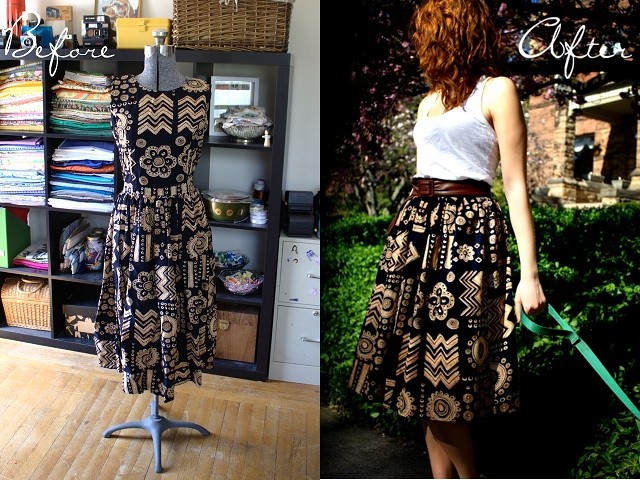
Hello Grosgrain readers! I'm Alli, the hobby crafter and photographer behind the blog One Pearl Button. I'm so happy to be here today to celebrate the big changes coming to Grosgrain!If you've been anywhere on the internet this spring, you've certainly noticed that longer length skirts are back in a big way. I've been wanting to try the midi length, but as a shorty (I'm only 5'3"), I wasn't sure how it would work out. Enter wardrobe refashioning - a great way to try out a trend without a big investment!
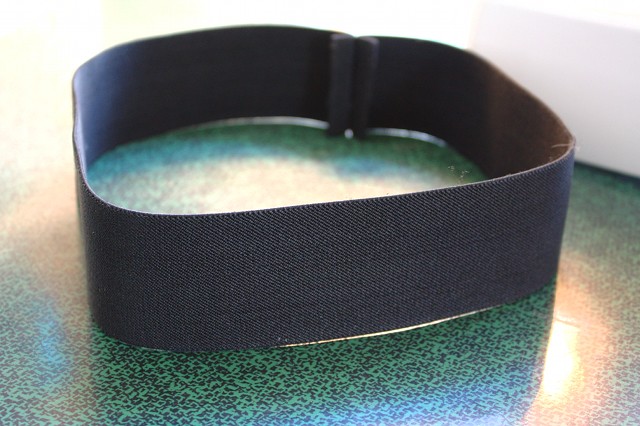
 What you need: All you need is an old skirt or dress (I found mine on the $1 rack at my favorite thrift store), some wide elastic (I used 2.5"), basic sewing supplies, and two measurements: your natural waist, and the length you'd like your skirt to be.
Step 1: Cut your elastic to the measurement of your waist plus 1". Fold it in half (right sides together) and sew the short edges together with a .5" seam allowance. Be sure to backstitch on either side to make sure it's nice and secure. Ta-da - you've made the world's quickest and easiest waistband! Set it aside for now.
 Step 2: Measure your dress/skirt from the waistline. Subtract the length you'd like your skirt to be from the current length of the skirt (I wanted mine to be 24" and it was 27", so I knew I needed to trim off 3"). Measuring from the waistline, mark where you need to trim all the way around the skirt.
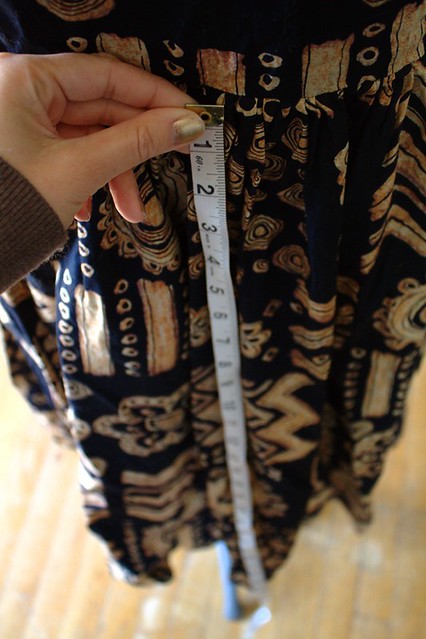
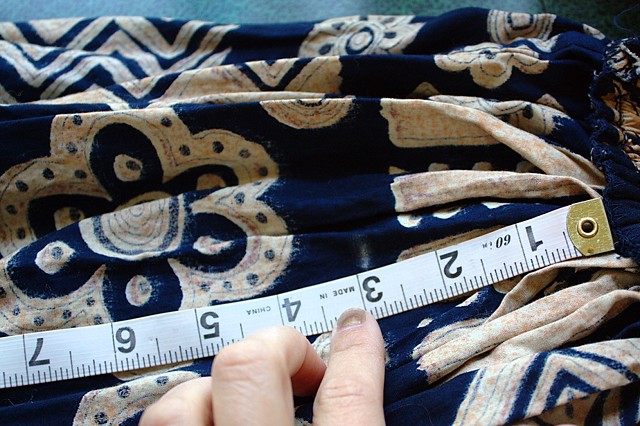 Step 3: Cut along the marks. You can use a rotary cutter, but I prefer scissors to keep a smooth line around the gathers. When you're done cutting, you'll be left with a big tube of fabric.
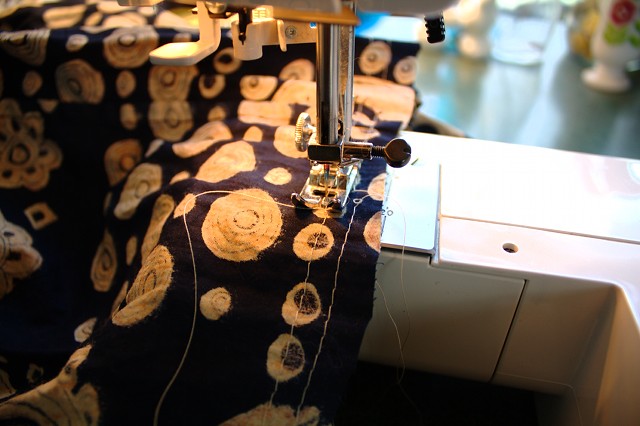
Step 4: Set your machine to its longest straight stitch (it's #4 on mine) and sew two rows of stitching, the first 1/4" from the edge and the second 1/2" from the edge. I do this easily by using the pressure foot as a guide - line it up with the fabric edge for the first line of stitching, and with the first line of stitching for the second. Leave the thread ends long and be sure not to backstitch or cross the lines!
 Step 5: Working from both sides, carefully gather the skirt until the opening is about the same size as your elastic waistband.
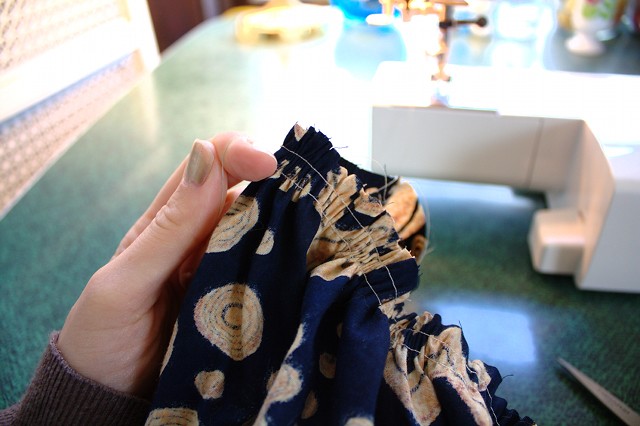 Step 6: Pin the skirt to the waistband, adjusting the gathers as necessary. The right side of the skirt should face the wrong side of the waistband.
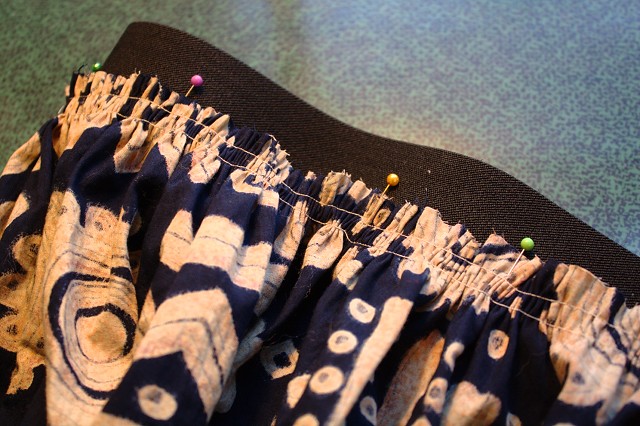
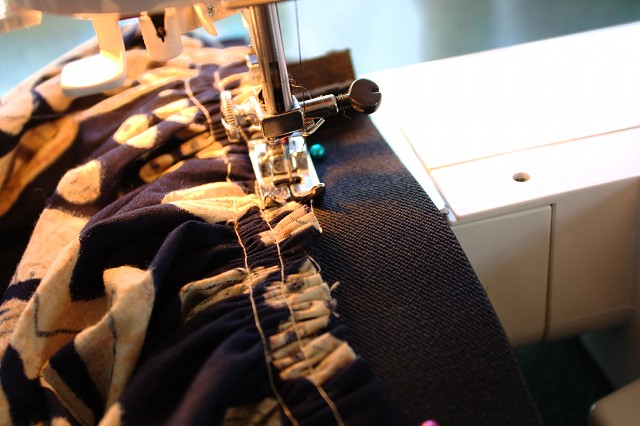
Step 7: Using a smallish zig-zag stitch, sew the skirt to the waistband, stitching over the raw edge. Be sure to catch the entire edge to prevent any unraveling later! Don't forget to backstitch and to remove all your pins.
 That's it - you're done! Flip it inside out, give it a quick press, and you're ready to rock the midi skirt trend!
Remember, if you decide the length isn't for you (or you just get tired of it next season), it's easy enough to hem it up to an eternally-flattering knee length, or even all the way up to a mini. This project is 100% no risk, so you might as well give it a try!
 Thank you for having me, Kathleen, and congrats on the new direction for Grosgrain!
Thank YOU Alli for taking the time to create such a cute tutorial! It was my pleasure to have you today!
Stay tuned tomorrow for Meg of Elsie Marley!
Spread the word! It's a 30 day FREE for all!  | Spread the word! It's a 30 day FREE for all!  |
Spread the word! It's a 30 day FREE for all!  | Spread the word! It's a 30 day FREE for all!  |


 Like not spending money?
15 {comments}:
I must get some of that elastic so I can make this... I've been wanting to for awhile. Great tutorial!
Brilliant! Must hit the charity shops and find as many dresses as possible, as this is so gorgeous.
I've found that nursing belts {my mum has all her different coloured ones, you get different colours as you progress, like in martial arts!} are really useful for these projects.
I like these fantastically easy skirts that look so nice! One question though- I have a vintage sewing machine that only does straight stitching, am I out of luck then since I can't do a zigzag stitch onto the elastic? I've heard it's really a bad idea to do straight stitching on stretching material and elastic bands because the straight stitch will break.
I'm going to the thrift store today--thank you for this great tutorial.
I love this skirt, it looks so simple yet gorgeous!
Linked up to spread word about this awesome idea! Thanks for putting it together!
I love your blog and I'm a follower, but I know I'm missing half your posts! How can I get the other ones?
It's so lovely of you to be introducing us to all these wonderful new bloggers and their great projects, def feel the sewing mojo being stirred! Thanks xx
I love that print. Surely you've come up with something to do with the top of the dress. It's too pretty to go to waste. I've never attached fabric directly to elastic. I'm going to have to give that a try.
Thanks for the easy to follow instructions.
Yeah, I didn't make the skirt, but I am definately making those magnetic paper dolls for my daughter's birthday coming up. It's also perfect for her to take on the airplane with us on a cross country flight at the end of May (she'll be four years old).
@Pang
You might have some luck with a straight stitch if you stretch the elastic as you sew. When you let go, the stitches will gather up so they have some give.
Really great idea - love the simplicity of the waistband!
all adorable . . . but that skirt is fantastic!
Love this skirt! Thanks!! Since I'm 5'3" as well I will probably just go with your measurements since it looks fabulous!
I always have issues because when I sew the elastic onto the skirt, the measurement of the elastic is such that it fits my waist, and won't go over my hips! Elastic stretches, but the stitch from fabric onto elastic doesn't. What am I doing wrong?
-Kelsey
I have the same question as Kelsey.
Post a Comment